
iPad Folding Case Camera Hole Tutorial

This tutorial is how to install a camera hole on your already made Sew Spoiled iPad Folding case. The epattern is available in Sew Spoiled's Etsy shop
Disclaimer: Please be careful trying this on your iPad folding cases. You can ruin a great case if you are not careful.

Step 1: Place a mark on the iPad case where the camera is on your device.
✄✄✄✄✄✄✄✄✄✄✄✄✄✄✄✄✄✄✄✄✄
Step 2: Cut a scrap piece of fabric measuring 3"X 3". Center the 3"X 3" fabric over the camera marking.
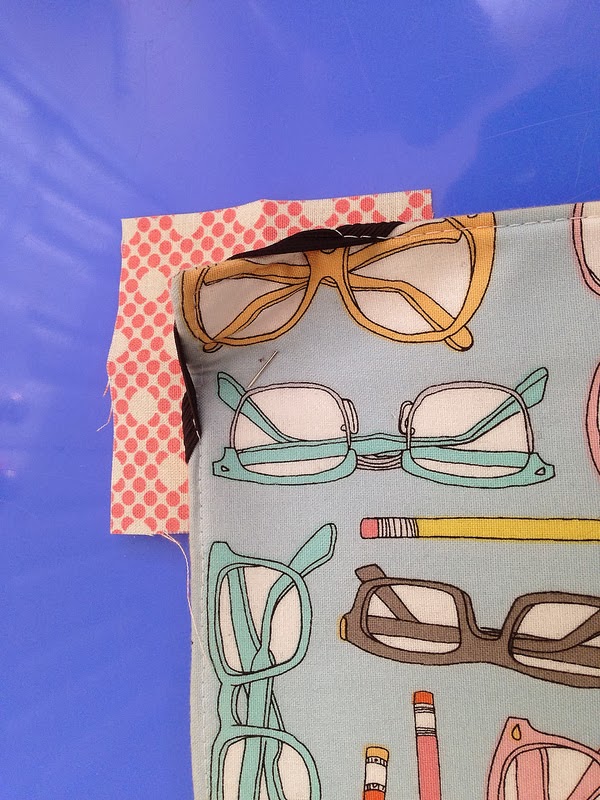
Pin in place, do NOT pin the elastic. You can even fold the elastic over the corner so it stays out of the way.
✄✄✄✄✄✄✄✄✄✄✄✄✄✄✄✄✄✄✄✄✄
Step 3: Draw a rectangle measuring .5" X .75" around the camera marking.
✄✄✄✄✄✄✄✄✄✄✄✄✄✄✄✄✄✄✄✄✄
Step 4: Sew around the rectangle. You might have to sew three sides and then adjust the case and sew the last side of the rectangle.
This is how it should look when the rectangle is completely sewn.
✄✄✄✄✄✄✄✄✄✄✄✄✄✄✄✄✄✄✄✄✄
Step 5: Cut a line inside the stitched rectangle, then cut tiny lines toward the corners of the rectangle. 
With super sharp scissors carefully cut away the excess fabric and interfacing. Be extremely careful not to cut through the rectangle stitching.
✄✄✄✄✄✄✄✄✄✄✄✄✄✄✄✄✄✄✄✄✄
Step 6: Push the fabric through the hole and press the fabric with a hot iron.
✄✄✄✄✄✄✄✄✄✄✄✄✄✄✄✄✄✄✄✄✄
Step 7: Sew around the rectangle opening.
✄✄✄✄✄✄✄✄✄✄✄✄✄✄✄✄✄✄✄✄✄
Step 8: Trim away the excess fabric and use Fray Check to cover the raw edges. 
✄✄✄✄✄✄✄✄✄✄✄✄✄✄✄✄✄✄✄✄✄
Step 9: Place your iPad back into your case!
Enjoy playing on your iPad!
Best wishes and tons of stitches!

Comments

Unknown said…
This comment has been removed by the author.
Unknown said…
Hi There! Thanks for the information you have shared. It helps me a lot.
Anyway, please view this link it may be interesting to you.Thanks!

Ipad Case
Arlene's Bags said…
Hi Leah-Thanks so much for the iPad Folding Case Camera Hole Tutorial.
I just finished adding a camera hole to my iPad case per your instructions. It came out perfectly!
Arlene
Anonymous said…
Mix colors is best color for me. I hope every all like those products also.
ipad cases

Popular posts from this blog

Sweet Coin Purse Tutorial for Teacher Gifts

This time of year is so special to me because I get to show my gratitude for all of the hard work that goes into teaching my daughters. I love to make handmade gifts and this year is no exception. Since money does not grow on trees around here, I looked at my stash (I keep my scraps in hat boxes ) and tried to see what I had a lot of; small zippers, trims, Peltex strips ( from making iPad cases ), fabric scraps and some hardware for key fobs. So I set to work.  Materials: Plastic multipurpose 5" Zipper  Fabric Scraps Lightweight interfacing 808 Pellon Trims (We clipped  key fobs  with 1.5" swivel hooks onto our coin purses . There are tons of tutorials on making key fobs .) Step 1: Print out the Coin Purse Template  PDF.  Cut 2 main fabric, cut 2 lining and 2 interfacing using the template.  Optional: Cut a 2"X2" square of your choice main fabric or lining. This strip of fabric is used to clip a key fob to your coin purse later....

Fun in the Sun Mermaid Tutorial

Sewing Materials: 1/4 yard of Lycra or  5T or larger old swimsuit Thread Stretch Needle (helps) Sewing Machine and Sewing Notions Print the PDF patterns pieces out and tape them together. ✄✄✄✄✄✄✄✄✄✄✄ ✄✄✄✄ ✄✄ Step 1: Cutting Layout-  Place the templates over the fabric and cut. ✄✄✄✄✄✄✄✄✄✄✄ ✄✄✄✄ ✄✄ Step 2:   Fold the top edges of the mermaid tail and sew across. ✄✄✄✄✄✄✄✄✄✄✄ ✄✄✄✄ ✄✄ Step 3: Place the mermaid tale pieces right sides together. Sew around the mermaid tail using the stretch stitch, it looks like a bolt of lighting. ✄✄✄✄✄✄✄✄✄✄✄ ✄✄✄✄ ✄✄ Step 4: Flip the mermaid tail right side out using a chopstick.   Option: You can add Poly-fil to make the end of the tale puffy.   Set aside. ✄✄✄✄✄✄✄✄✄✄✄ ✄✄✄✄ ✄✄ Bodice   Step 1: Cut a bodice measuring  4.5” X1.5” or use template. ✄✄✄✄✄✄✄✄✄✄✄ ✄✄✄✄ ✄✄ Step 2: Fold the bodice right sides together and sew the  short ends making a loop. Use the e...

May 2011 Giveaway!

Thank you Sew Mama Sew for making today, May 23, 2011 Giveaway Day! Sew Love Fabrics will be sponsoring this month’s giveaway with eight fat quarters (18”X 22”) of Prince Charming prints in olive green, equaling 2 yards of gorgeous fabrics! If you would like to read more about Ruth, founder of Sew Love Fabrics , read her interview . Thank you so much for sharing your love of fabric with us! These are the fat quarters ready to ship to the lucky winner!! Giveaway Rules! +Our Giveaway will run May 23-27, 2011, with the winner being announced May 28, 2011! +The winner will be selected by Random.org +The package will be shipped to the winner by May 30, 2011. + To enter to win post a comment on this blog post! +Only one comment please per person. +This giveaway is open to everyone. +Leave your EMAIL ADDRESS, you can leave it as: leah(dot)sewspoiled(at)gamil(dot)com +This giveaway ends May 27, 2011 at 8PM Eastern Standard Time Thank you Ruth for sponsoring our May giveaway from Sew Love ...