
T-Shirt made from ready wear Dress

Untitled
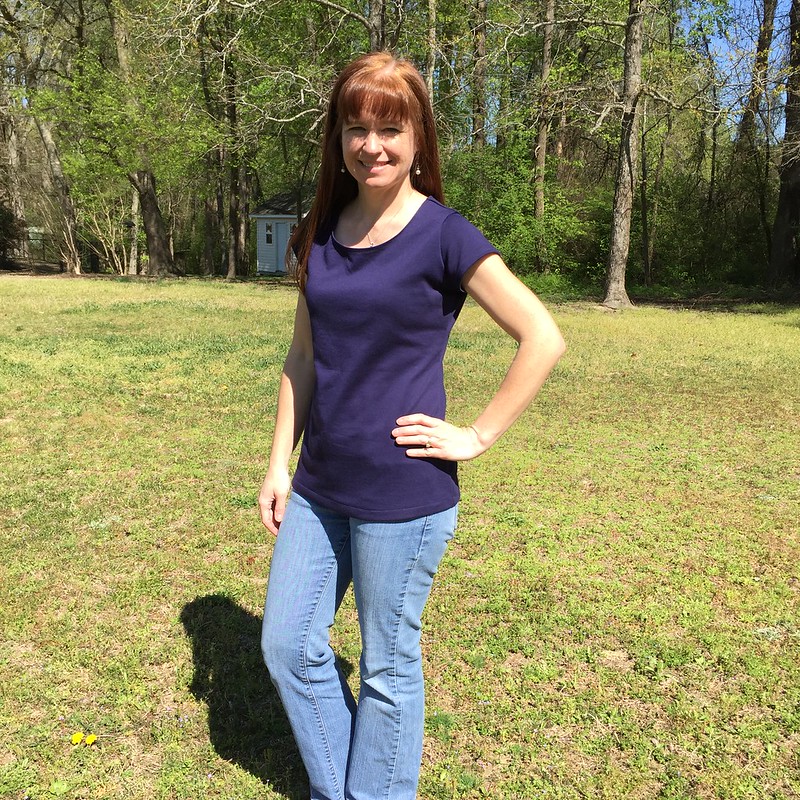
I have been on the hunt for the perfect t-shirt sewing pattern. The closest perfect t-shirt I have found that is almost perfect is the Plantain Shirt from Deer and Doe. I wanted a different look so I tried tracing a ready-to-wear knit dress. I wanted the fit without buying another apparel pattern and wondering if the fit would be right. I laid the ready-to-wear dress on a large piece of paper on the floor and traced the front and back of the dress. I traced the whole dress in case later I wanted to make one, then I folded the paper template so I would have the correct size for a t-shirt. I traced the sleeve carefully by using the fold line at the top of the sleeve and drawing the curve. The neckline did not have a collar, so I had to add enough extra fabric to fold the neckline twice to create a finished edge.
I love the fit and the pattern cost was $0!!! I have a bad habit of buying new patterns when I have the same one just with a slight style change. Of course,  I like to read patterns like some people read recipes.
Happy Sewing!

Comments

Robin said…
Great (and economical) idea! I do the same with clothing and existing patterns. If it's the same basic shape and you've got the fit, just make some minor alterations and voila! -- you've got a new pattern.

Popular posts from this blog

Sweet Coin Purse Tutorial for Teacher Gifts

This time of year is so special to me because I get to show my gratitude for all of the hard work that goes into teaching my daughters. I love to make handmade gifts and this year is no exception. Since money does not grow on trees around here, I looked at my stash (I keep my scraps in hat boxes ) and tried to see what I had a lot of; small zippers, trims, Peltex strips ( from making iPad cases ), fabric scraps and some hardware for key fobs. So I set to work.  Materials: Plastic multipurpose 5" Zipper  Fabric Scraps Lightweight interfacing 808 Pellon Trims (We clipped  key fobs  with 1.5" swivel hooks onto our coin purses . There are tons of tutorials on making key fobs .) Step 1: Print out the Coin Purse Template  PDF.  Cut 2 main fabric, cut 2 lining and 2 interfacing using the template.  Optional: Cut a 2"X2" square of your choice main fabric or lining. This strip of fabric is used to clip a key fob to your coin purse later....

May 2011 Giveaway!

Thank you Sew Mama Sew for making today, May 23, 2011 Giveaway Day! Sew Love Fabrics will be sponsoring this month’s giveaway with eight fat quarters (18”X 22”) of Prince Charming prints in olive green, equaling 2 yards of gorgeous fabrics! If you would like to read more about Ruth, founder of Sew Love Fabrics , read her interview . Thank you so much for sharing your love of fabric with us! These are the fat quarters ready to ship to the lucky winner!! Giveaway Rules! +Our Giveaway will run May 23-27, 2011, with the winner being announced May 28, 2011! +The winner will be selected by Random.org +The package will be shipped to the winner by May 30, 2011. + To enter to win post a comment on this blog post! +Only one comment please per person. +This giveaway is open to everyone. +Leave your EMAIL ADDRESS, you can leave it as: leah(dot)sewspoiled(at)gamil(dot)com +This giveaway ends May 27, 2011 at 8PM Eastern Standard Time Thank you Ruth for sponsoring our May giveaway from Sew Love ...

Veruca Salt Dress

Every year we perform a musical and one of the highlights for me as a theater mom and seamstress is I get to make costumes! I love sewing and when I can sew for a show or for a music reason it is awesome! This year was Willy Wonka and the Chocolate Factory and I was able to recreate Veruca's red dress. The first step is to find a sewing pattern that I can manipulate to look like what the character needs.  I wanted to make the dress out of Pont de Roma fabric so it moved with the actress. Then I remembered the  Marianne Dress by Christine Haynes , it is perfect because it also had a peter pan collar. The peter pan collar did have some issues. I did not want a t-shirt binding. Also, the back of the collar did not have a collar. I drafted a back collar piece and since the opening was not stretchy, I created a keyhole with a button and loop closure. I lengthened the sleeves and used the cuffs from the pattern for long sleeves. Next, we added the buttons! We al...