
Everyday Cardigan in Cream Finished!

IMG_1431
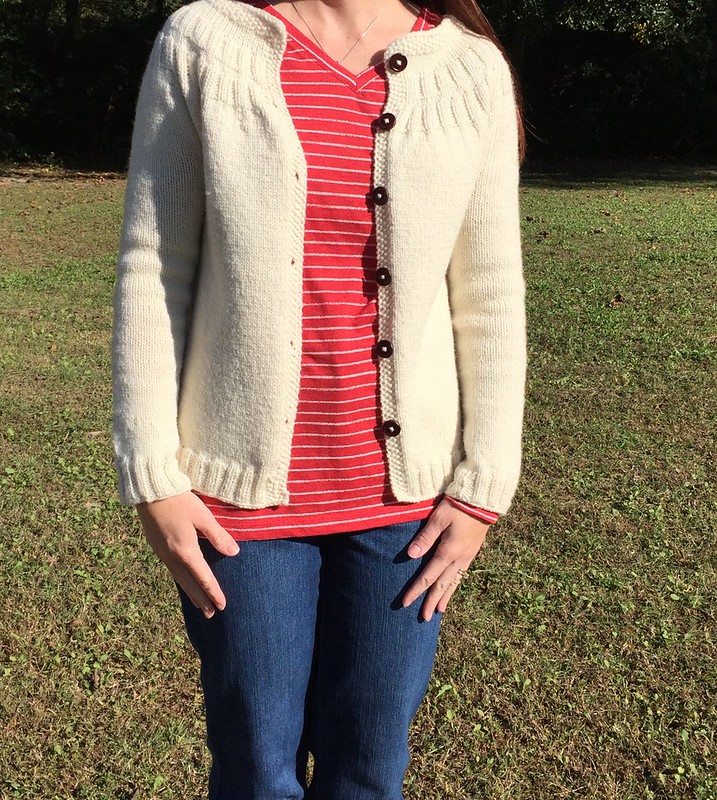
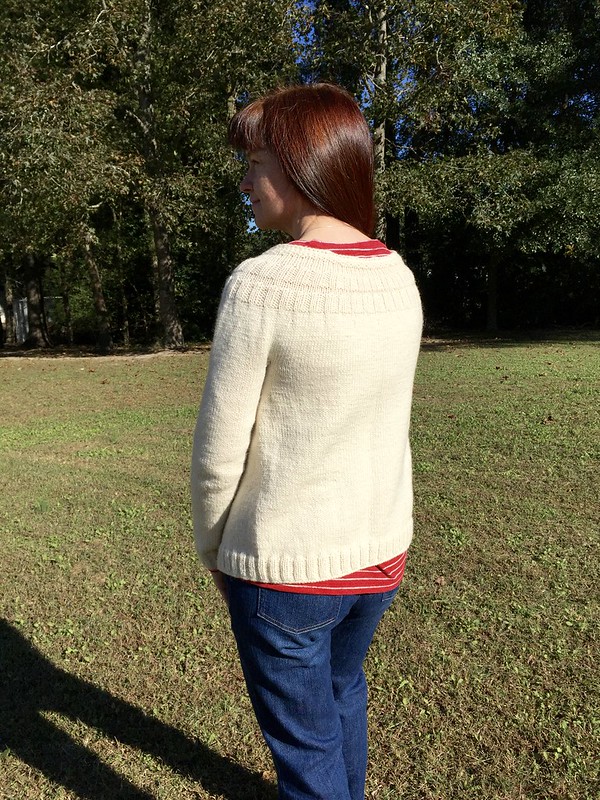
I have finished my  Everyday Cardigan by Lisa Clarke. It has actually been done for a while because it is such a fast knitting project. I can see how you could easily make a few of these in different colors. I know I have told you that there is no button band on this cardigan but I can't tell you how wonderful it felt when I did not have to go back and make one.
IMG_1441
The buttons are actually leather! I fell in love with the color and left the store thinking they were dark wood. However, when I got into my car I realized they were leather. Instead of returning them I decided to go with it and kept them for the project. 
IMG_1442
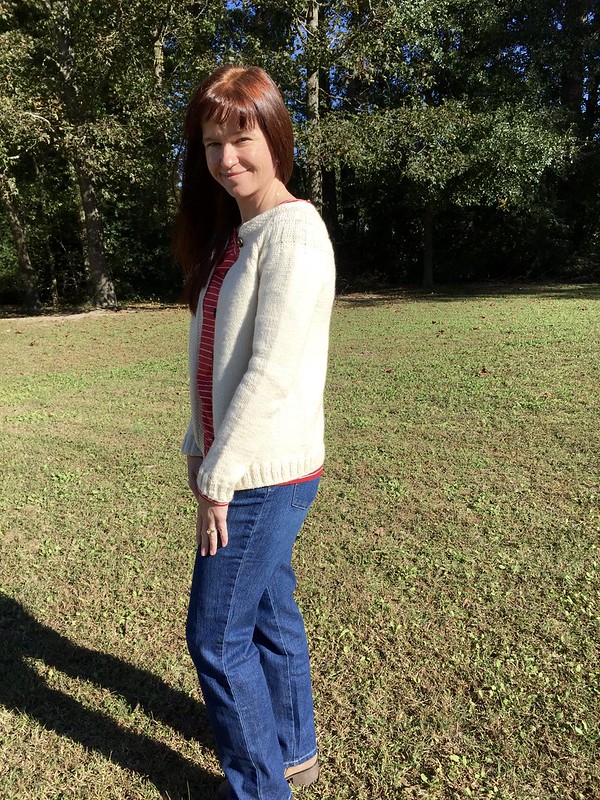
It is a close-fitting sweater and since I hardly ever button up my cardigans it works great! I think if I made this for a friend or someone else I might go up a size, just to make sure the size would be comfortable. I like my sweaters to be close fitting and I tend to wear t-shirts under my sweaters. If you wear a lot of button-up shirts again you might want to size up. 
This is definitely one of those knitting patterns I will use over and over again. 
Pattern: Everyday Cardigan by Lisa Clarke
Yarn: Cascade Yarns Cascade 220®
Knitting Needles:  Deborah Norville 32" Circular Knitting Needles
Buttons: Leather 3/4" Buttons

Comments

Popular posts from this blog

Sweet Coin Purse Tutorial for Teacher Gifts

This time of year is so special to me because I get to show my gratitude for all of the hard work that goes into teaching my daughters. I love to make handmade gifts and this year is no exception. Since money does not grow on trees around here, I looked at my stash (I keep my scraps in hat boxes ) and tried to see what I had a lot of; small zippers, trims, Peltex strips ( from making iPad cases ), fabric scraps and some hardware for key fobs. So I set to work.  Materials: Plastic multipurpose 5" Zipper  Fabric Scraps Lightweight interfacing 808 Pellon Trims (We clipped  key fobs  with 1.5" swivel hooks onto our coin purses . There are tons of tutorials on making key fobs .) Step 1: Print out the Coin Purse Template  PDF.  Cut 2 main fabric, cut 2 lining and 2 interfacing using the template.  Optional: Cut a 2"X2" square of your choice main fabric or lining. This strip of fabric is used to clip a key fob to your coin purse later....

Veruca Salt Dress

Every year we perform a musical and one of the highlights for me as a theater mom and seamstress is I get to make costumes! I love sewing and when I can sew for a show or for a music reason it is awesome! This year was Willy Wonka and the Chocolate Factory and I was able to recreate Veruca's red dress. The first step is to find a sewing pattern that I can manipulate to look like what the character needs.  I wanted to make the dress out of Pont de Roma fabric so it moved with the actress. Then I remembered the  Marianne Dress by Christine Haynes , it is perfect because it also had a peter pan collar. The peter pan collar did have some issues. I did not want a t-shirt binding. Also, the back of the collar did not have a collar. I drafted a back collar piece and since the opening was not stretchy, I created a keyhole with a button and loop closure. I lengthened the sleeves and used the cuffs from the pattern for long sleeves. Next, we added the buttons! We al...

Fun in the Sun Mermaid Tutorial

Sewing Materials: 1/4 yard of Lycra or  5T or larger old swimsuit Thread Stretch Needle (helps) Sewing Machine and Sewing Notions Print the PDF patterns pieces out and tape them together. ✄✄✄✄✄✄✄✄✄✄✄ ✄✄✄✄ ✄✄ Step 1: Cutting Layout-  Place the templates over the fabric and cut. ✄✄✄✄✄✄✄✄✄✄✄ ✄✄✄✄ ✄✄ Step 2:   Fold the top edges of the mermaid tail and sew across. ✄✄✄✄✄✄✄✄✄✄✄ ✄✄✄✄ ✄✄ Step 3: Place the mermaid tale pieces right sides together. Sew around the mermaid tail using the stretch stitch, it looks like a bolt of lighting. ✄✄✄✄✄✄✄✄✄✄✄ ✄✄✄✄ ✄✄ Step 4: Flip the mermaid tail right side out using a chopstick.   Option: You can add Poly-fil to make the end of the tale puffy.   Set aside. ✄✄✄✄✄✄✄✄✄✄✄ ✄✄✄✄ ✄✄ Bodice   Step 1: Cut a bodice measuring  4.5” X1.5” or use template. ✄✄✄✄✄✄✄✄✄✄✄ ✄✄✄✄ ✄✄ Step 2: Fold the bodice right sides together and sew the  short ends making a loop. Use the e...