
Sew Spoiled Sewing Space

Sew Spoiled Sewing Space

My sewing space has changed as my life continues to change. Recently, my oldest daughter asked for her own room. Sharing with a younger sister was not working any more and she wanted her own space. My sewing room was dismantled and we moved her in. We then had to figure out where to put Sew Spoiled? It was determined that the bonus room (which is the tv watching, game room) would have to do. My girls love it because it is easy for them to sew on the machines. The machines are always ready for action. The cover is never on, what is that for? I guess if you travel with it. (Day-dreaming: I would love to go on a sewing retreat. ..... Ok, back to reality.) The lighting is good in my new space. I am very fortunate to have a serger, sewing and embroidery machine. 
Embroidery Machine

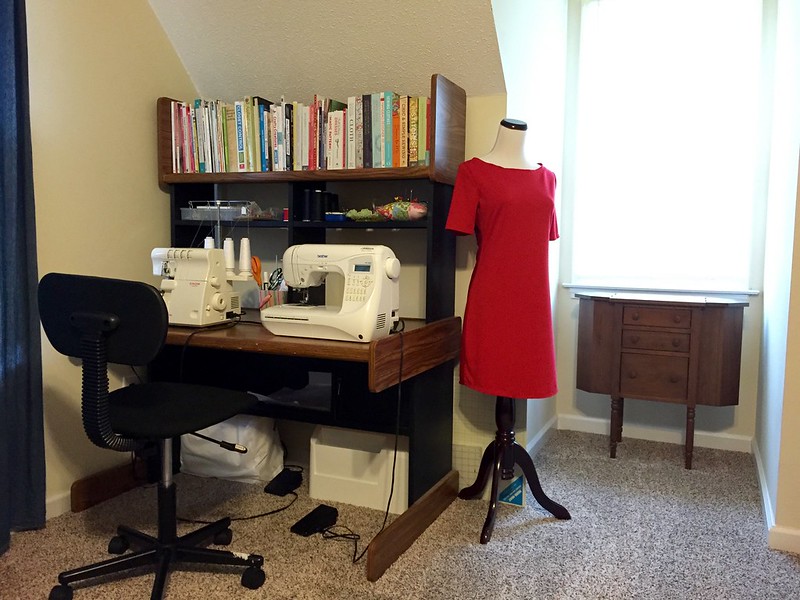
Fabric and pattern storage has always been an issue. I store a lot of fabric under beds and in closets. I take pictures of inside of the storage bins, so I know where to look when a project comes around. My two favorite pieces in my sewing space are my yellow ruffled glass pin dish and my Martha Washington sewing cabinet. The ruffle dish was given to me by a close friend and I love it. It is in a lot of Sew Spoiled pictures almost like a mascot. 
Yellow Pin Dish
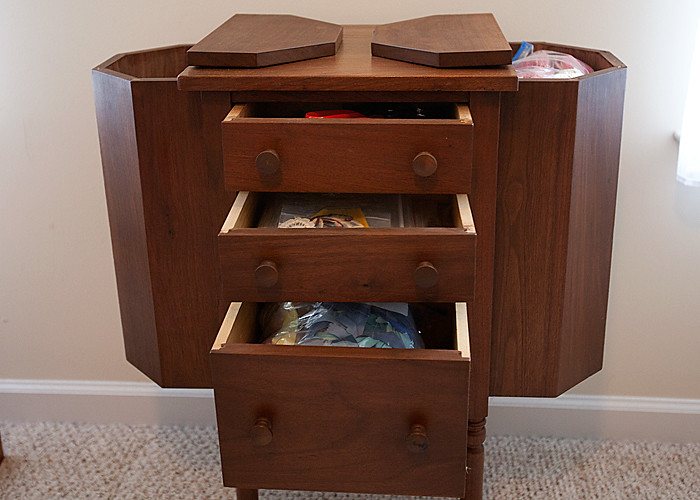
The Mary Washington sewing cabinet holds everything you need to put your fingers on; scissors, measuring tape, buttons, zippers, etc.. It has 2 saddle bag compartments and 3 drawers. One thing I would change is adding shelving or more storage. 
Drawers-Open
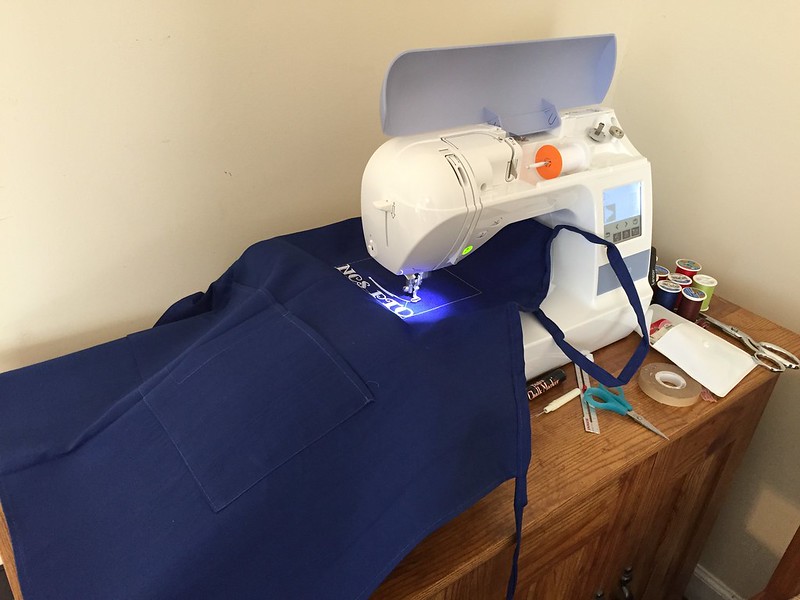
My girls and I love to make dolls, dresses and accessories, so poor Dad is driven out sometimes in a wave of fabric from the bonus room. He is a really good sport and he helps me with pictures. Even though I have a small space, it is mine and I love it!

Comments

Nita saidā€¦
Oh, I have an antique sewing cabinet just like that! It belonged to my husband's grandma. It's at this bottom of this post: http://www.nitadances.com/index.php/2014/01/03/a-hexagon-quilt-update-and-some-treasure/
Sew Spoiled saidā€¦
That is awesome!! Thanks for sharing your link.
I love that little sewing cabinet! Very unique. You can't find them built like that anymore.
Sew Spoiled saidā€¦
Thank you! It is small but stores a lot!
Torry saidā€¦
I gave up my sewing room when I had my daughter 35 years ago. I always told her that it was proof positive how much I had wanted her, after all, I gave up my sewing room! Now it is back to being a sewing/guest room, which means a very small room has a lot of stuff in it. But I'm not sewing on the kitchen table any more, so I feel fortunate!

Popular posts from this blog

Sweet Coin Purse Tutorial for Teacher Gifts

This time of year is so special to me because I get to show my gratitude for all of the hard work that goes into teaching my daughters. I love to make handmade gifts and this year is no exception. Since money does not grow on trees around here, I looked at my stash (I keep my scraps in hat boxes ) and tried to see what I had a lot of; small zippers, trims, Peltex strips ( from making iPad cases ), fabric scraps and some hardware for key fobs. So I set to work.  Materials: Plastic multipurpose 5" Zipper  Fabric Scraps Lightweight interfacing 808 Pellon Trims (We clipped  key fobs  with 1.5" swivel hooks onto our coin purses . There are tons of tutorials on making key fobs .) Step 1: Print out the Coin Purse Template  PDF.  Cut 2 main fabric, cut 2 lining and 2 interfacing using the template.  Optional: Cut a 2"X2" square of your choice main fabric or lining. This strip of fabric is used to clip a key fob to your coin purse later....

Fun in the Sun Mermaid Tutorial

Sewing Materials: 1/4 yard of Lycra or  5T or larger old swimsuit Thread Stretch Needle (helps) Sewing Machine and Sewing Notions Print the PDF patterns pieces out and tape them together. āœ„āœ„āœ„āœ„āœ„āœ„āœ„āœ„āœ„āœ„āœ„ āœ„āœ„āœ„āœ„ āœ„āœ„ Step 1: Cutting Layout-  Place the templates over the fabric and cut. āœ„āœ„āœ„āœ„āœ„āœ„āœ„āœ„āœ„āœ„āœ„ āœ„āœ„āœ„āœ„ āœ„āœ„ Step 2:   Fold the top edges of the mermaid tail and sew across. āœ„āœ„āœ„āœ„āœ„āœ„āœ„āœ„āœ„āœ„āœ„ āœ„āœ„āœ„āœ„ āœ„āœ„ Step 3: Place the mermaid tale pieces right sides together. Sew around the mermaid tail using the stretch stitch, it looks like a bolt of lighting. āœ„āœ„āœ„āœ„āœ„āœ„āœ„āœ„āœ„āœ„āœ„ āœ„āœ„āœ„āœ„ āœ„āœ„ Step 4: Flip the mermaid tail right side out using a chopstick.   Option: You can add Poly-fil to make the end of the tale puffy.   Set aside. āœ„āœ„āœ„āœ„āœ„āœ„āœ„āœ„āœ„āœ„āœ„ āœ„āœ„āœ„āœ„ āœ„āœ„ Bodice   Step 1: Cut a bodice measuring  4.5ā€ X1.5ā€ or use template. āœ„āœ„āœ„āœ„āœ„āœ„āœ„āœ„āœ„āœ„āœ„ āœ„āœ„āœ„āœ„ āœ„āœ„ Step 2: Fold the bodice right sides together and sew the  short ends making a loop. Use the e...

Cute as a Button Bookmark Tutorial

These are called Cute as a Button Bookmakers. They are cheap, easy to make and are wonderful gifts!  All you need is  Bookmarkers/ PaperClips Size 45 or 1 1/8" Button Covers and kit Glue Gun Pliers (which you won't need if you get the flat back buttons). Step 1: Make a few fabric covered buttons.  These are size 45 or 1 1/8" buttons. Step 2: If you use normal buttons you will need to take the loops off to make them flat. However you can buy flat back buttons and not have to worry about the loop. Step 3: Add a dab of hot glue to the top of the large paperclip pad and place your fabric button on top of the glue. Step 4: Let it cool and it's ready to use! Happy Crafting!