
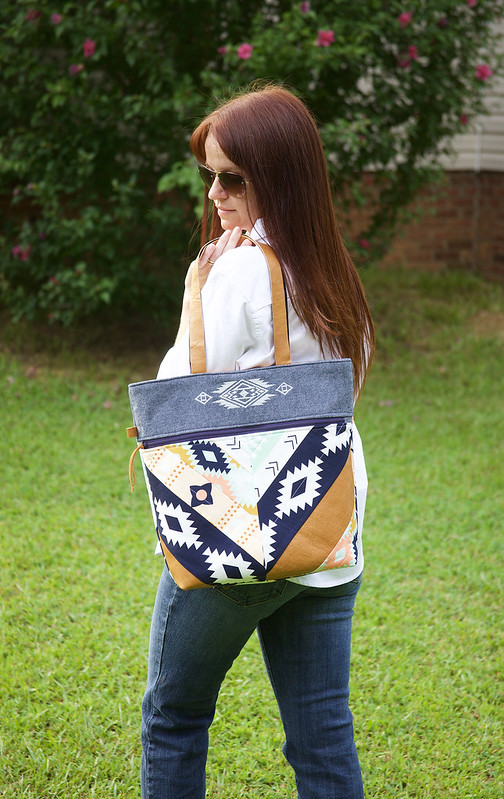
This is Round #3 of the Super Online Sewing Match. It has been wonderful receiving patterns, fabric and online resources to create our sewing projects with. I feel so lucky to be a contestant. Each week receiving a new challenge with new resources to make it with. This week's challenge was the Caravan Tote and Pouch Pattern by Anna Graham from Noodlehead. Anna has a new book and line of fabric out and I can't wait to get my hands on both!
The Caravan Tote and Pouch pattern by Noodlehead is a knitters dream. It has pockets everywhere for needles, yarn, stitch counters and placement markers. I am a beginner, when it comes to the world of knitting, but I love and respect it. I feel that it has made me a better seamstress because knitting is making your own fabric!
When I received the challenge, I began to wonder what fabrics to use. It was hard to narrow it down. I went to Fat Quarter Shop, who sponsored this week's round, and instantly fell in love with Arizona Fabrics by April Rhodes from Art Gallery Fabrics. The Caravan Tote and the Arizona fabrics were a match made in heaven. I saw that the tote had leather handles. So I made a call to my step-mom and asked for some leather from her fabric stash. I text a picture of the Arizona fabrics and she sent me a parcel of the leather in the mail. Now all I had to do is wait and come up with a plan.
Once I received the fabrics, I had to figure out where to place all of the Arizona prints. I had acquired 5 of the Arizona fabrics from the Fat Quarter Shop. (Thank you Fat Quarter Shop!!!) I could have picked any one of them to be the focal point of this tote and it would have looked perfect. However, after hours of deliberation, I finally decided to use them all! First, I thought about a log cabin quilted pattern but it just didn't look right in my mind. So I looked for another idea. I stumbled across Maureen Cracknell Handmade's site and she had a terrific tutorial on the herring bone, quilt as you go pattern. That was it!!!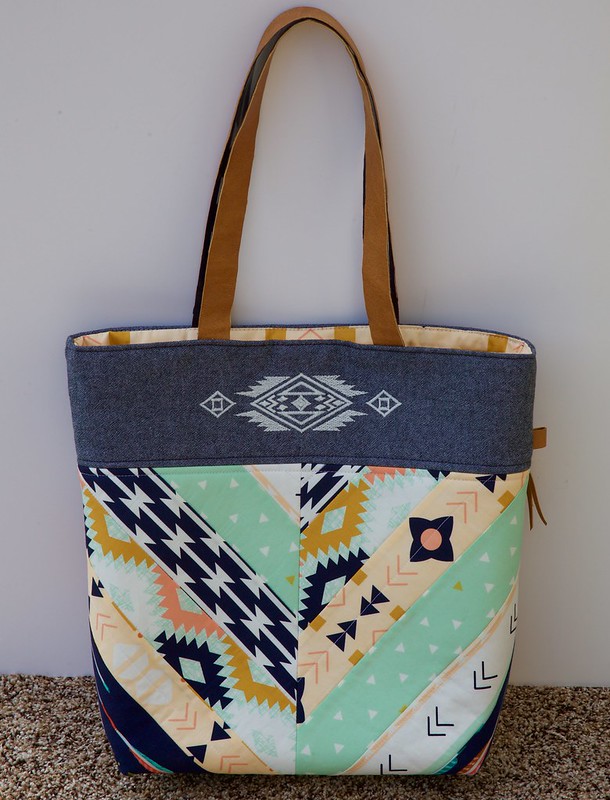
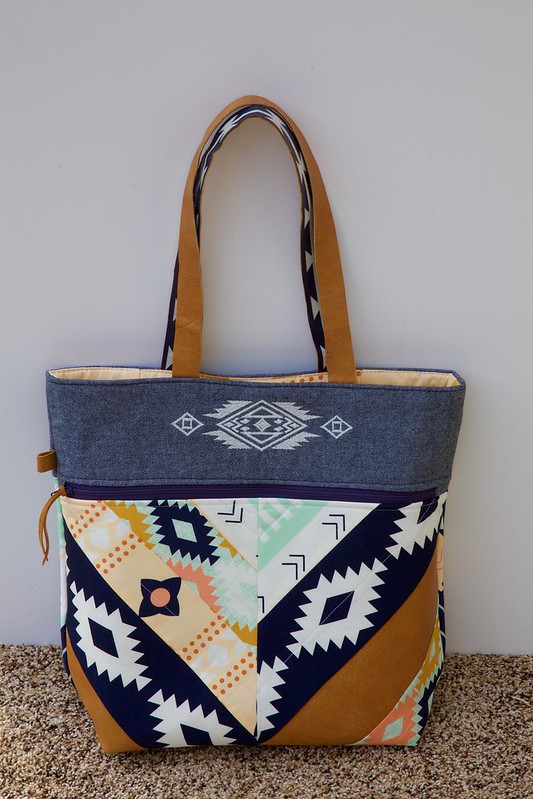
In order to create the herring bone effect, I took the main template and added .5" seam allowance on the fold line. I cut 4 - 9"W X 13"L panels. At the top corner of each panel I started to draw 2" diagonal lines just as a starting guide for the quilt as you go. Then, I cut 2.5" strips of fabric to quilt with. This was my favorite part of making this tote because I got to play with fabrics and quilt them together. These diagonal panels where then sewn together to achieve the herring bone quilted effect.
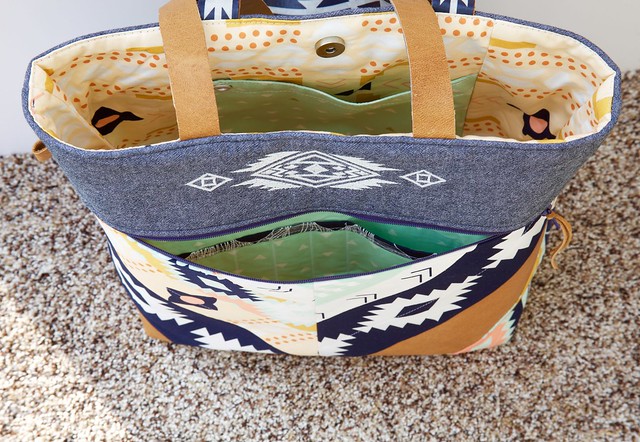
I used the desert blanket and triangle tokens, Arizona prints for the lining. There are eyelets on the inside slip pocket to act as yarn guides.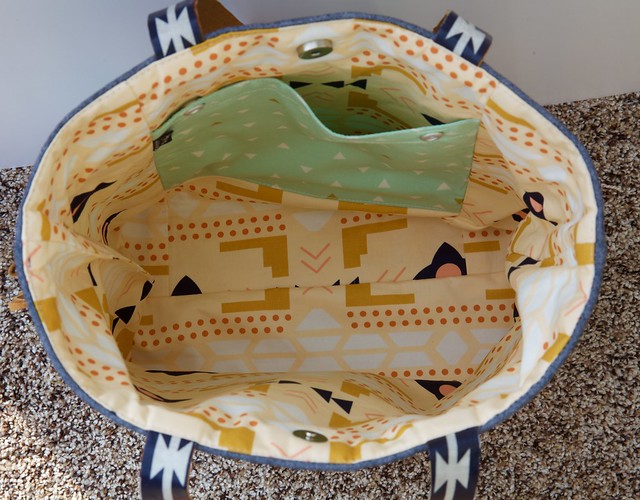
The contrast fabric is a Robert Kaufman slate chambray fabric that I repurposed for this design. I embroidered the chambray to tie it into the overall look of the tote. I found the Aztec embroidery design at KMP design studios. Since the quilted part of the tote was a large feature, I did not cover it with a pocket.
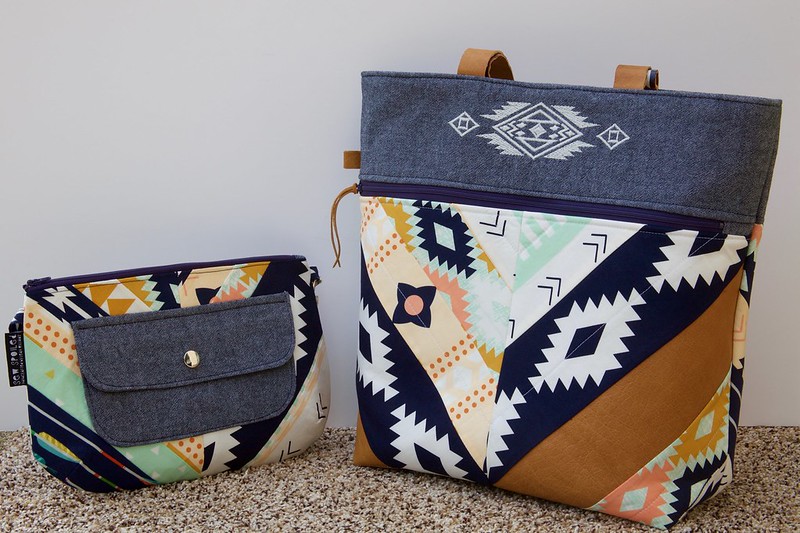
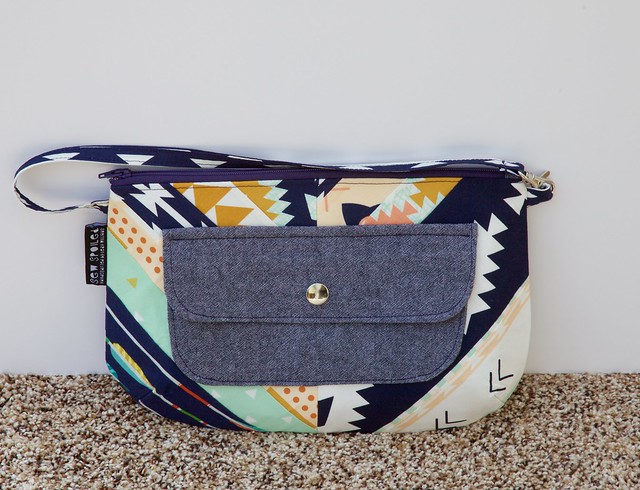
I decided to make the pouch with the cute pocket to show it off. The leather handles are a Sew Spoiled original. I cut the leather and the tomahawk fabric, into 1" X 24" handles. Then I Mod Podged the tomahawk fabric first and allowed it to dry completely. I used a Fabric Mod Podge so I could spot clean the handles later if they needed it.
 After the fabric dried, I painted the rough side of the leather with Mod Podge and centered the fabric over it. I pressed them together and let it cure. After the handles were dry, I clipped and sanded down the edges. I love how everything turned out.
I can't wait to see everyone's Caravan Totes! Thank you for stopping by.
Please share a comment below.

When I received the challenge, I began to wonder what fabrics to use. It was hard to narrow it down. I went to Fat Quarter Shop, who sponsored this week's round, and instantly fell in love with Arizona Fabrics by April Rhodes from Art Gallery Fabrics. The Caravan Tote and the Arizona fabrics were a match made in heaven. I saw that the tote had leather handles. So I made a call to my step-mom and asked for some leather from her fabric stash. I text a picture of the Arizona fabrics and she sent me a parcel of the leather in the mail. Now all I had to do is wait and come up with a plan.
Once I received the fabrics, I had to figure out where to place all of the Arizona prints. I had acquired 5 of the Arizona fabrics from the Fat Quarter Shop. (Thank you Fat Quarter Shop!!!) I could have picked any one of them to be the focal point of this tote and it would have looked perfect. However, after hours of deliberation, I finally decided to use them all! First, I thought about a log cabin quilted pattern but it just didn't look right in my mind. So I looked for another idea. I stumbled across Maureen Cracknell Handmade's site and she had a terrific tutorial on the herring bone, quilt as you go pattern. That was it!!!
In order to create the herring bone effect, I took the main template and added .5" seam allowance on the fold line. I cut 4 - 9"W X 13"L panels. At the top corner of each panel I started to draw 2" diagonal lines just as a starting guide for the quilt as you go. Then, I cut 2.5" strips of fabric to quilt with. This was my favorite part of making this tote because I got to play with fabrics and quilt them together. These diagonal panels where then sewn together to achieve the herring bone quilted effect.
I used the desert blanket and triangle tokens, Arizona prints for the lining. There are eyelets on the inside slip pocket to act as yarn guides.
The contrast fabric is a Robert Kaufman slate chambray fabric that I repurposed for this design. I embroidered the chambray to tie it into the overall look of the tote. I found the Aztec embroidery design at KMP design studios. Since the quilted part of the tote was a large feature, I did not cover it with a pocket.
I decided to make the pouch with the cute pocket to show it off. The leather handles are a Sew Spoiled original. I cut the leather and the tomahawk fabric, into 1" X 24" handles. Then I Mod Podged the tomahawk fabric first and allowed it to dry completely. I used a Fabric Mod Podge so I could spot clean the handles later if they needed it.

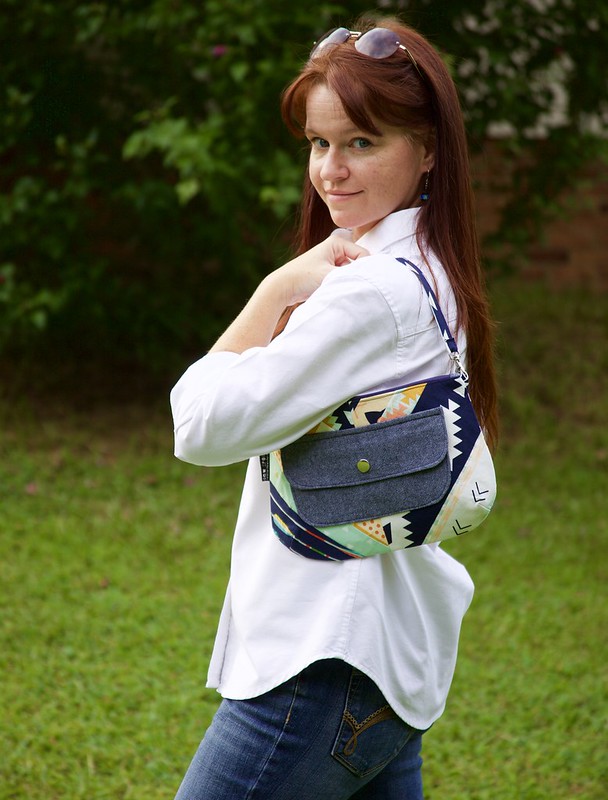
The pouch was a cute addition to the Caravan Tote Pattern. Thank you Anna from Noodlehead for adding it to this sewing pattern. It is large enough for a small skein of yarn and/or more needle storage. I added a little strap to use on the shoulder or wrist. I love to carry my knitting with me and most projects start small and grow into scarves, sweaters, etc., so a small pouch is great when you are first starting a knitting project. The flap pocket fits my iPhone 6!!! (With my iPhone in it's case.) Yeah!
The instructions throughout the pattern were written very well. I had never installed a zipper like this one in the Caravan Pouch. All of my previous zipper pouches were made by running over the sides with my needle. I found this method a little more sophisticated. I love that I found out about this new sewing technique. Also, I did not know about Pellon Shape Flex101. (I know, I must live under a rock.) Adding it to your fabric before adding another interfacing is brilliant. I can't wait to see everyone's Caravan Totes! Thank you for stopping by.
Please share a comment below.
Best wishes and tons of stitches!
This is pretty cool, just #F21THREADSCREEN on any Instagram picture and it shows up on the Thread Screen in NYC. The thread screen has 6,400 spools of thread to create any picture!
Comments
Regards from Barcelona (Spain)
Isabel
Isabel, Thank you for your comment. I love your DIY site. Thank you for stopping by.
Barbara, Thank you and good luck to you.
For more information visit: meetme.com reviews