
Sew Spoiled Twist Apron

Sew Spoiled Twist Apron
I created the Twist Apron when my sister, who is a bakery diva, had a birthday. I wanted to give her a custom apron that was as unique as her delightful pastry treats. 
What makes this pattern different? It is how you wear the Twist Apron. Here is a short video showing you how to put it on.

Step 1: Cut out your Twist Apron pattern.

                    Style 1                                                         Style 2 (Shown above)


Style 1 
Fabric A:
Wrap Bib- 15”X 50”
Ties- 2- 6”X 44”
Waistbands 2- 3.5”X 22”
Fabric B:
Panel 18”X 22”
Pocket 13.5” X 6.5”
Interfacing Waistbands 2- 3.5”X 22” 


Style 2
Fabric A:
Wrap Bib- 15”X 50”
Panel 18”X 22”
Pocket 13.5” X 6.5”
Fabric B:
Ties- 2- 6”X 44”
Waistbands 2- 3.5”X 22”
Interfacing Waistbands 2- 3.5”X 22”

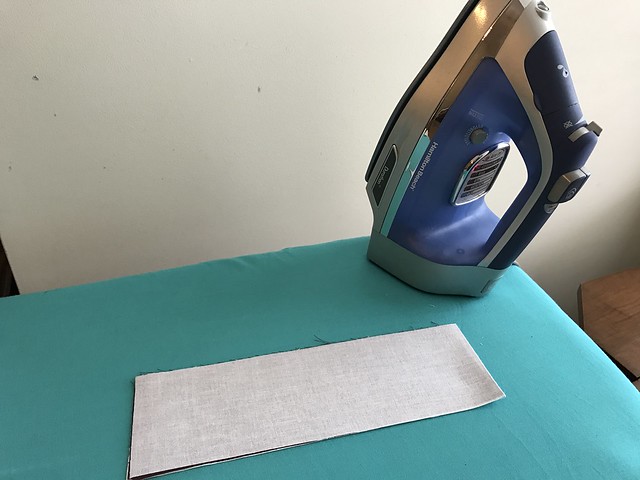
Step 2: Fuse the interfacing to the waistbands measuring 3.5” X 22”. Set these aside.

WIP

Step 3: Create the apron pocket. Fold the pocket fabric right sides together and stitch along the raw edges. Leave an opening so you can flip it right sides out. Flip it out and iron flat.

WIP

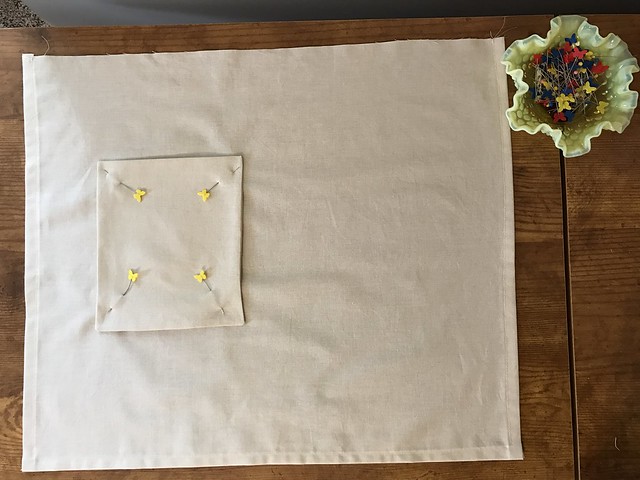
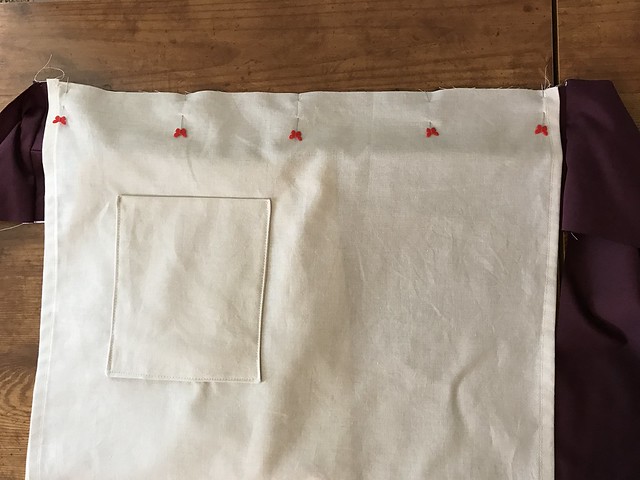
Step 4: Pin in place the apron pocket 4” from the 18” side and 5” from the bottom 22” side of the apron panel and sew the pocket onto the apron panel. 

WIP

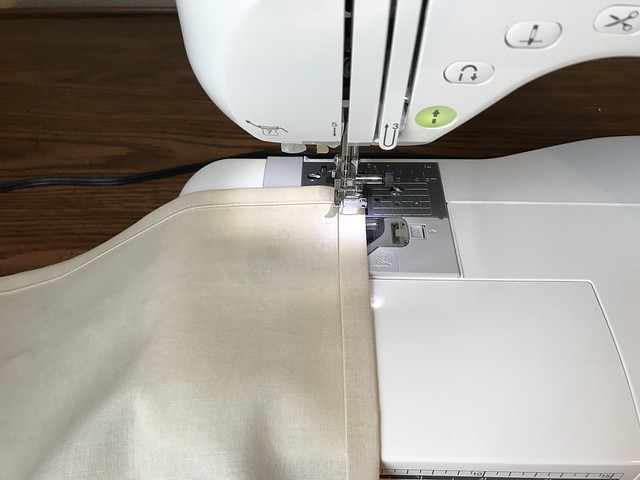
Step 5: Fold and iron the raw edges of the 18” sides of the apron panel twice, then fold and iron the bottom 22” side. Sew around the three edges of the apron panel.

WIP

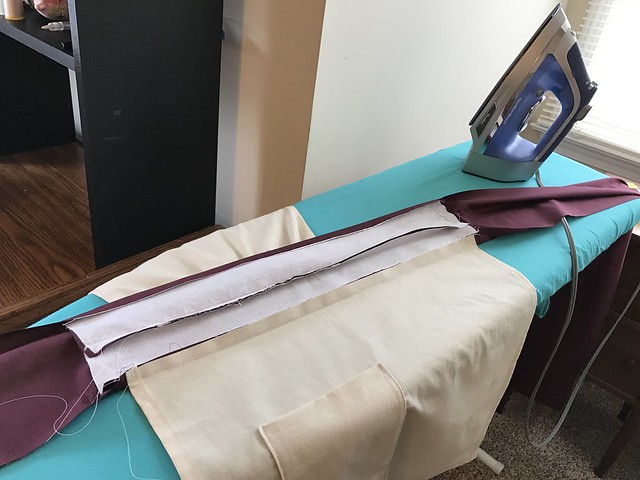
Step 6: Fold and iron the long 50” raw edges twice, then fold the raw edge of one short edge measuring 15” and sew along the three edges.

WIP

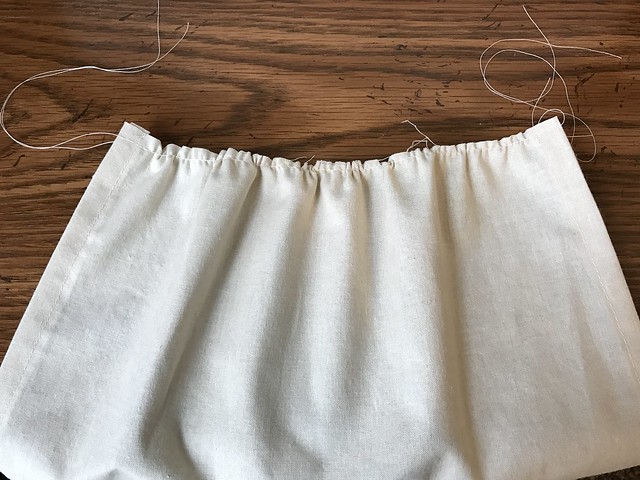
Step 7: Gather the bib short end that still has the raw edge until it measures 10”. 

WIP

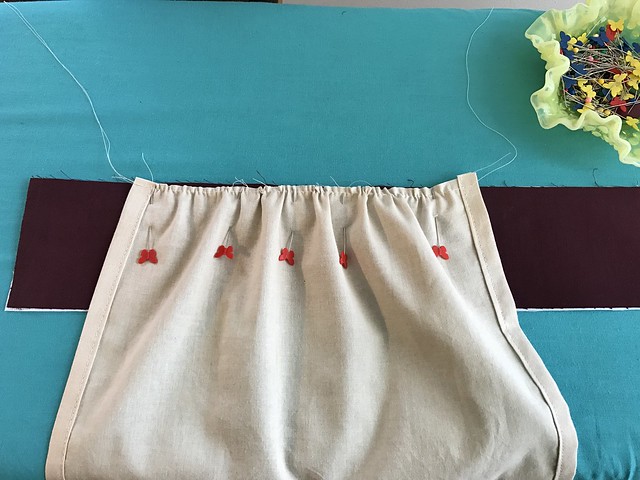
Step 8: Sandwich the gathered apron bib between the waistbands measuring 3.5” X 22”, 2.75” from the edge and 1” over the center fold mark.

WIP

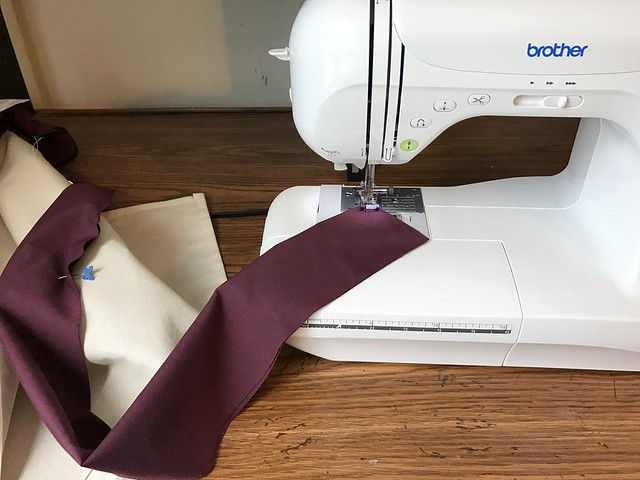
Step 9: Sew the ties to each short ends of the waistband measuring 6”. 

IMG_2789

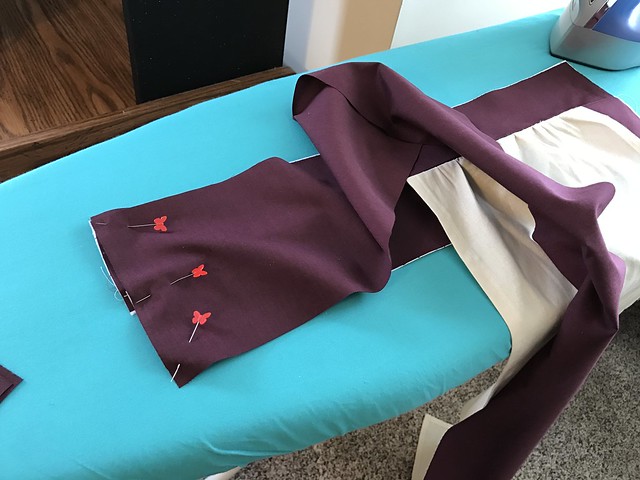
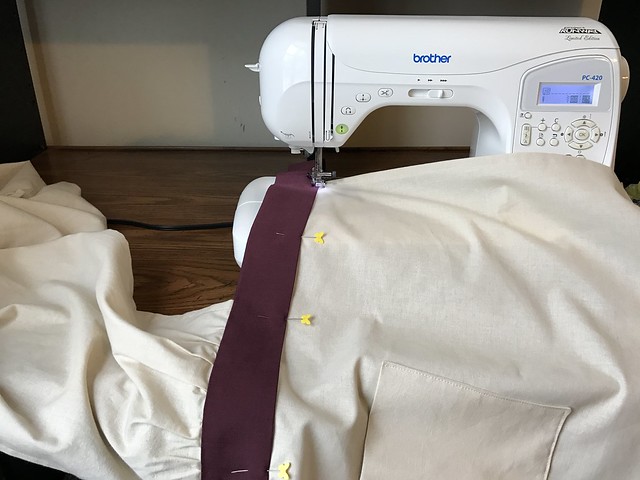
Step 10: Sew the apron panel to the waistband. (Wrong side of apron panel to the back waistband.)

fullsizeoutput_12c2

Step 11: Iron the apron panel up and the front waistband fold and iron .5”. 

IMG_2795

Step 12: Fold the ties right sides together and sew them together. Back tack right before the front panel.

IMG_2799

Step 13: Turn the ties right side out and iron. Topstitch along the bottom edge of the apron ties and close the opening of the front waistband.  

IMG_2805
Congratulations you have made your own Twist Apron!
Now you are ready to bake, cook and host a wonderful party! Twist Aprons make the best gifts because they are so adjustable, any cook will enjoy this amazing apron.
Happy Wishes and tons of stitches!
SaveSave

Comments

DebbieT said…
Brilliant design - so simple, yet elegant looking.... well done!! I am envisioning many different fabric combos - appreciate you sharing!
Unknown said…
Love this!!!! It looks like Jedi robes!
Sew Spoiled said…
Thank you! I'm so glad you like it!
Unknown said…
I love this apron! I do have a question, what is the difference between the two patterns? Is there two different styles? If so whats different about them? Also would you mind if I added this to my Pinterest? Thanks Trish
Sew Spoiled said…
I have added pictures for both styles so you can see the differences. Thank you!
yo-yo0769 said…
Preciosa idea!!!! Cómo estar súper elegante incluso con un delantal.Realmente brillante. Gracias por compartirla.

Popular posts from this blog

Fun in the Sun Mermaid Tutorial

Sewing Materials: 1/4 yard of Lycra or  5T or larger old swimsuit Thread Stretch Needle (helps) Sewing Machine and Sewing Notions Print the PDF patterns pieces out and tape them together. ✄✄✄✄✄✄✄✄✄✄✄ ✄✄✄✄ ✄✄ Step 1: Cutting Layout-  Place the templates over the fabric and cut. ✄✄✄✄✄✄✄✄✄✄✄ ✄✄✄✄ ✄✄ Step 2:   Fold the top edges of the mermaid tail and sew across. ✄✄✄✄✄✄✄✄✄✄✄ ✄✄✄✄ ✄✄ Step 3: Place the mermaid tale pieces right sides together. Sew around the mermaid tail using the stretch stitch, it looks like a bolt of lighting. ✄✄✄✄✄✄✄✄✄✄✄ ✄✄✄✄ ✄✄ Step 4: Flip the mermaid tail right side out using a chopstick.   Option: You can add Poly-fil to make the end of the tale puffy.   Set aside. ✄✄✄✄✄✄✄✄✄✄✄ ✄✄✄✄ ✄✄ Bodice   Step 1: Cut a bodice measuring  4.5” X1.5” or use template. ✄✄✄✄✄✄✄✄✄✄✄ ✄✄✄✄ ✄✄ Step 2: Fold the bodice right sides together and sew the  short ends making a loop. Use the edge of the presser foot for your seam a

How to Line an A-Line Skirt Tutorial

 After you find an A-line skirt pattern , I am using  One Yard Wonders 101  template . Make a muslin of your skirt! It only takes a few minutes to make a muslin version. Just baste stitch the side seams and make adjustments for your hips. Once your template is right you can make all the skirts your heart desires, so it is important to get the perfect fit first. Now we are ready to cut the "good" fabric and sew! ---------------------------------- ---------------------------------- ---------------------------------- ---------------------------------- Flip the skirt right side out and put it on!! You are done!! It is super easy and your new skirt will look store made.  Plus there is no hand stitching the lining to the main fabric. If you have any questions please comment below or email me at leah.sewspoiled@gmail.com .  WooHooo!! A-Line Skirt Pattern Finds

Sweet Coin Purse Tutorial for Teacher Gifts

This time of year is so special to me because I get to show my gratitude for all of the hard work that goes into teaching my daughters. I love to make handmade gifts and this year is no exception. Since money does not grow on trees around here, I looked at my stash (I keep my scraps in hat boxes ) and tried to see what I had a lot of; small zippers, trims, Peltex strips ( from making iPad cases ), fabric scraps and some hardware for key fobs. So I set to work.  Materials: Plastic multipurpose 5" Zipper  Fabric Scraps Lightweight interfacing 808 Pellon Trims (We clipped  key fobs  with 1.5" swivel hooks onto our coin purses . There are tons of tutorials on making key fobs .) Step 1: Print out the Coin Purse Template  PDF.  Cut 2 main fabric, cut 2 lining and 2 interfacing using the template.  Optional: Cut a 2"X2" square of your choice main fabric or lining. This strip of fabric is used to clip a key fob to your coin purse later. We used a 1.5