This year has been great! Can't wait to see what next year will bring!

What a fantastic year! I have grown as an educator and seamstress.
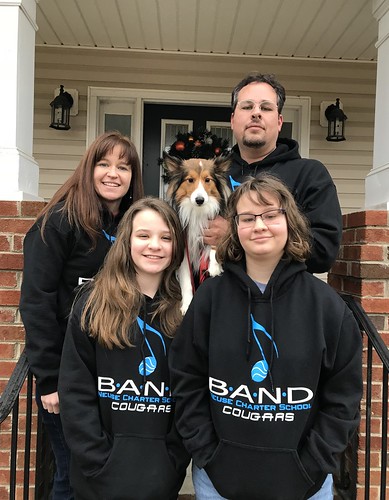
From our family to yours Happy New Year!
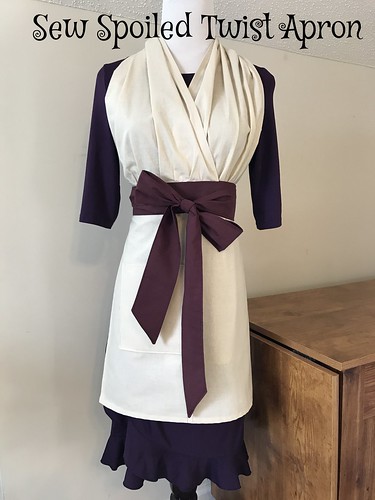
- We started with the Sew Spoiled Twist Apron pattern in January.
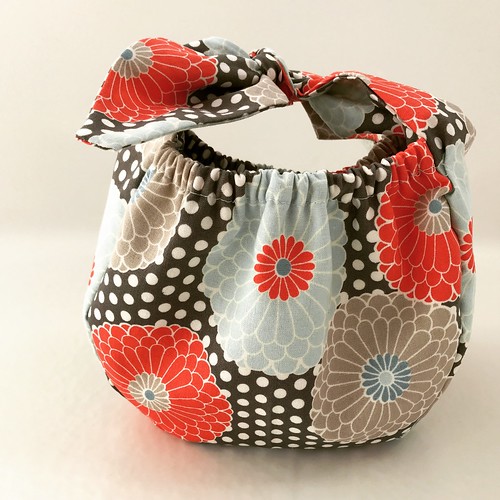
- We finally reviewed the Bunny Bag from The Makers' Journal Etsy Shop, in Australia. This is such a cute bag and they make adorable bridesmaids gifts.
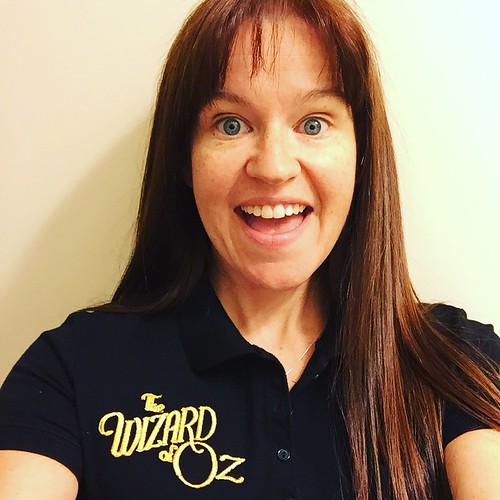
- February and March had school events happening! We had students attending the All-District Band clinics and we performed The Wizard of Oz at a local Community College!
- My daughter entered the #KidsCanLearn2Sew Contest! She did not win but we felt like winners because it was a fun project for us to work on together!
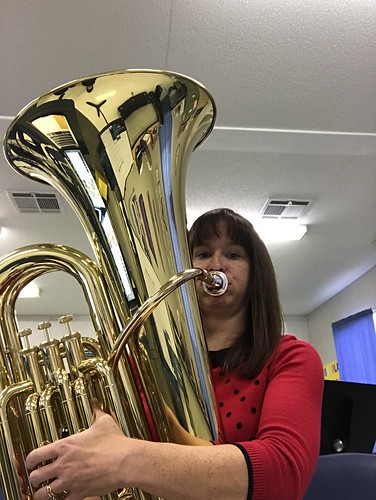
- June through August we were fundraising for a Tuba for our band and we successfully raised over $4,000! See I am a band director, you can't fake this stuff. 😀
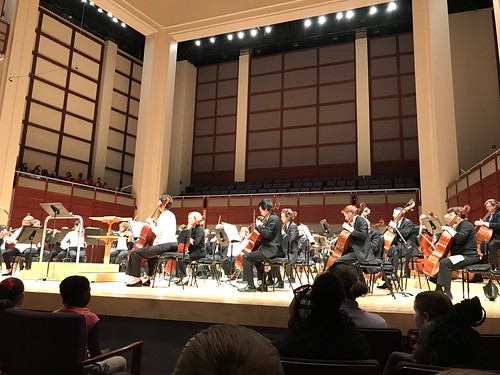
- We took our students to see the Orchestra! Every kid should go to see the orchestra at least once in their elementary career! The NC Symphony Orchestra provides education concerts and explains each piece. We also practice a song that we sing with the orchestra playing the accompaniment. The students love it and grow to love classical music!
- Then fall arrived with cooler weather and I made a beautiful sweater, I will share pictures later.
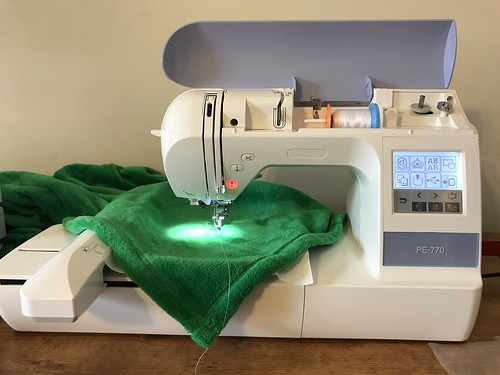
- This month we have focused on embroidery! Everyone needs help with this especially if you received one for Christmas. We want to help you get it out of the box and creating beautiful works!
What a fantastic year! I have grown as an educator and seamstress.
From our family to yours Happy New Year!
Comments