
This tutorial started with an email from a customer:
“Hi Leah,I got all the patterns they are great. I made up the mini purse, but added a small rectangle to the lining for credit cards. It only took a scap of fabric and a minute to insert and the friend I made it for is delighted because she intends to bring it clubbing instead of a big hand bag. I thought this might be a handy tip for other people ( I did the same with the wristlet purse for myself and it is perfect).
Sorry if this is not the right way to go about telling you this, I'm new to Etsy and I'm not sure what's what yet. I really love your purse patterns and I look forward to new ones !
Regards,
Helen”
Helen email is the perfect way to share your sewing experience. Thank you for writing to us. Here is a quick tutorial on how to make a business or credit card pocket for any Sew Spoiled pouch, purse or even iPad Case!
Materials:

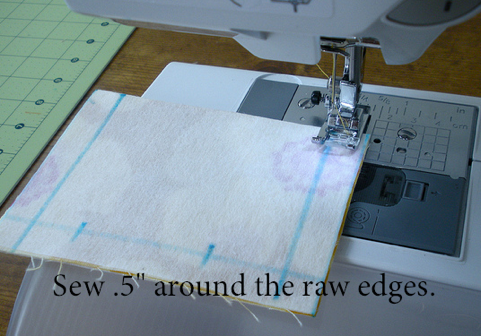
Step 1:

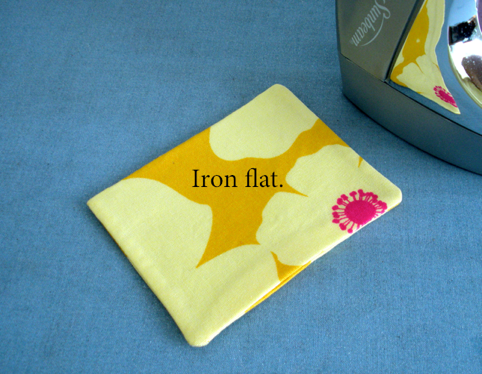
Step 2:

Step 3:

Step 4:
Step 5:

Step 6:

Step 7:
Step 8:

Thanks again Helen! What a great idea to share! If you are here for the Sew Mama Sew Giveaway please follow this link.
Happy Sewing!
Comments
Debbie