I have been on a knit fabric kick! It feels good to wear, looks great and usually a knit project takes less time if the fabric and sewing machine and/or serger behaves. I had a lot of red ponte fabric from my Marianne Dress from the SOSM Round 2 so I decided to make another knit dress.
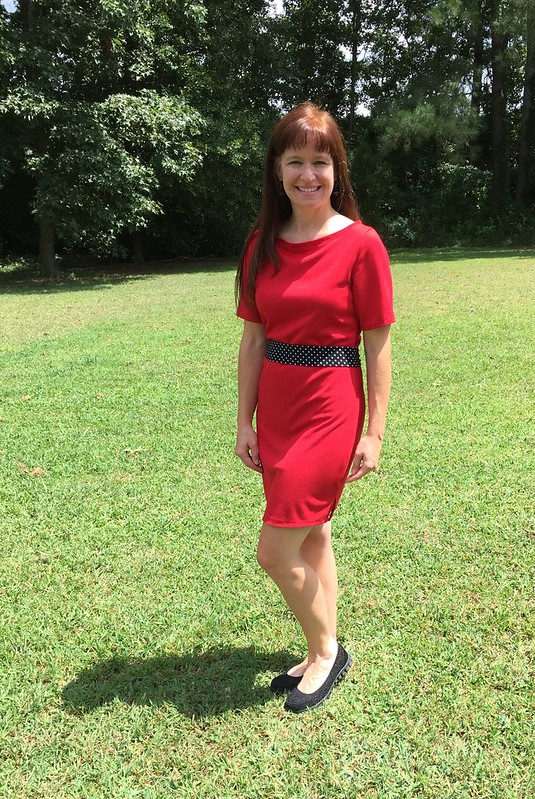
I was looking for a boat neck line t-shirt dress to make and the Mesa pattern fit the bill. I made a size small, 4-6. The fitting was great. However, I am 5'1" and this is where the hem line fell without changing the pattern. If I were taller, I would have lengthen the dress. It must be is super short on a "regular height frame".

The only challenge I had was the neckband needed to be a little shorter, so that it pulled the top of the dress in. I made the red dress first and a stripe shirt second. The neckband in the shirt looks and feels better because I stretch the band a little as I sewed it in.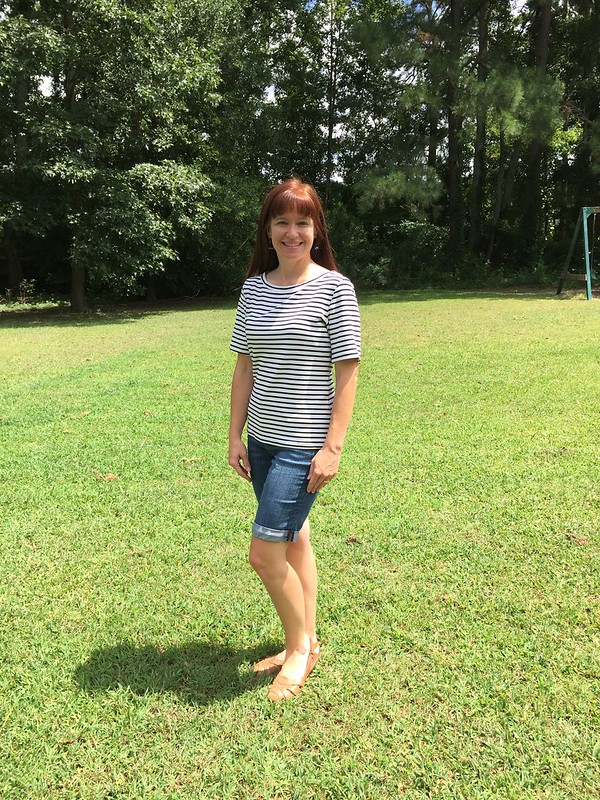
The Mesa Dress pattern is from Colette Sewing Patterns through their new online pattern magazine called Seamworks. It only costs $6 at the beginning of each month for a subscription. A subscription comes with 2 patterns each month and $2 off of any of the previous issues. If you buy one of their patterns later they are $7 each, if you don't have a subscription. This would also make a great gift if you know someone who loves to sew! Just $72 a year. I might have to Sew Spoil myself and get it as a birthday gift to me.

I was looking for a boat neck line t-shirt dress to make and the Mesa pattern fit the bill. I made a size small, 4-6. The fitting was great. However, I am 5'1" and this is where the hem line fell without changing the pattern. If I were taller, I would have lengthen the dress. It must be is super short on a "regular height frame".
The only challenge I had was the neckband needed to be a little shorter, so that it pulled the top of the dress in. I made the red dress first and a stripe shirt second. The neckband in the shirt looks and feels better because I stretch the band a little as I sewed it in.
The Mesa Dress pattern is from Colette Sewing Patterns through their new online pattern magazine called Seamworks. It only costs $6 at the beginning of each month for a subscription. A subscription comes with 2 patterns each month and $2 off of any of the previous issues. If you buy one of their patterns later they are $7 each, if you don't have a subscription. This would also make a great gift if you know someone who loves to sew! Just $72 a year. I might have to Sew Spoil myself and get it as a birthday gift to me.
Best wishes and tons of stitches!
Comments