
How to Wash Your Down Coat

One of the warmest coats you will ever own is a down coat. The goose down feathers are warm and so soft. I found this coat several years ago at the Eddie Bauer outlet for $35. I have worn it for the past 5 or 6 years and I have never washed it. If you think about that, that is seriously gross! With colds, kids and dirt it is disgusting and needs a good bath. Now that I know how easy it is to wash, I will probably wash it more often.
Label
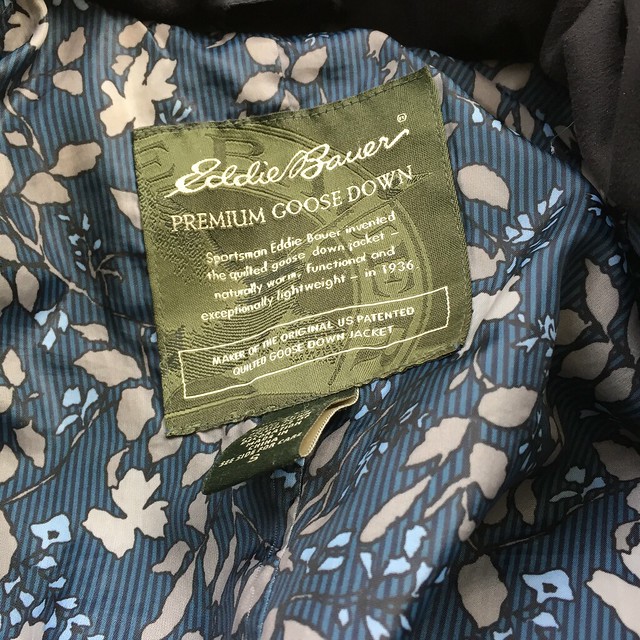
This is the label, just to show you it is a goose down jacket
wash instructions
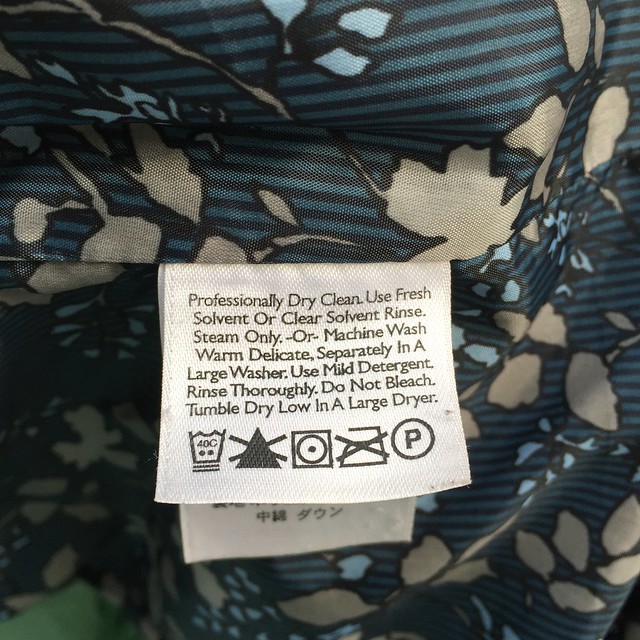
Here is the instructions in the coat. You will notice that it first suggests to dry clean it.
If you look further you will see the Machine wash instructions...


  1. Use warm water 
  2. Delicate cycle 
  3. Separately in a large washer
  4. Use mild detergent (Down Cleaner is the best)
  5. Rinse twice 
Settings
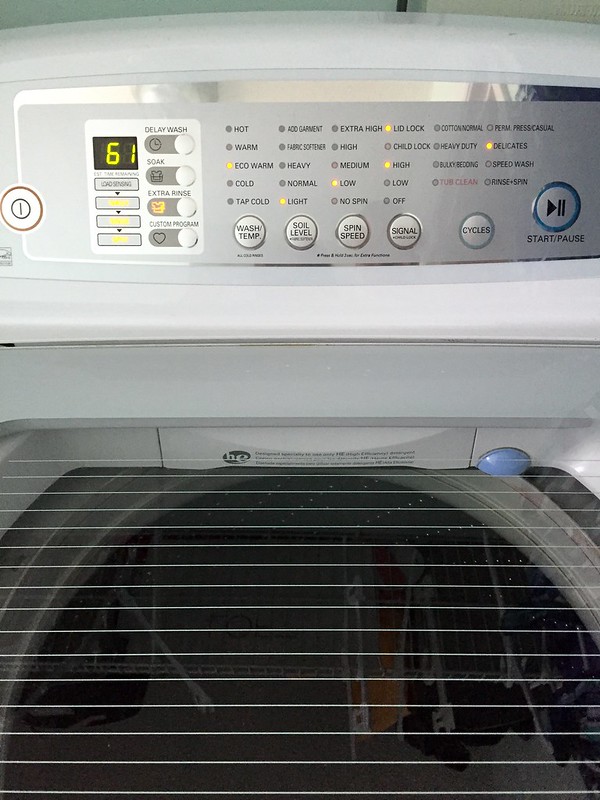
This is what my washing machine looked like when I programmed all of the settings in. I even saved the custom program incase we need it again. You could use this for sleeping bags too.
Tennis balls
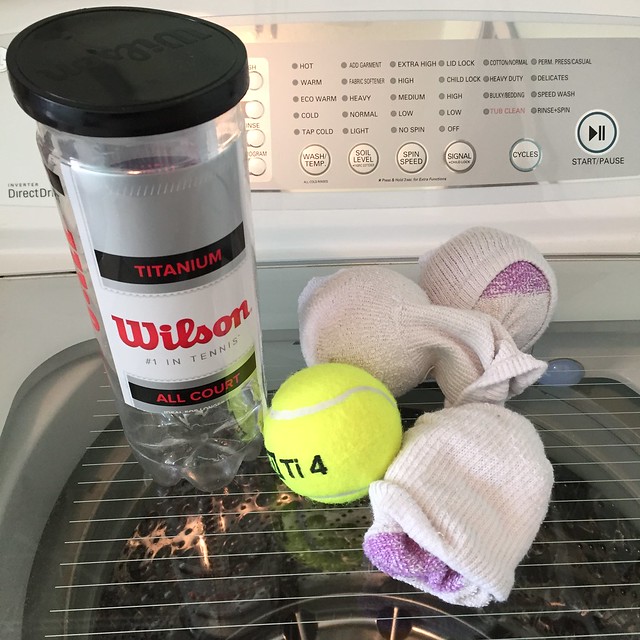
Last but not less you need to use the the lowest heat setting on your dryer. Place 3 tennis balls wrapped in socks to get the down clumps out. It took awhile to get everything dry and fluffy. My goose down jacket is rejuvenate with new life. It smells better and looks wonderful too.
Wash your down coats!!!

Comments

Bx Dry Cleaner said…
Thanks for sharing this amazing informative post with us i found this helpful for best long coat dry cleaning services in Bushey, Kings Langley, Rickmansworth, WATFORD and nearby cities. Contact us today! Long Coat Dry Cleaning

Popular posts from this blog

Sweet Coin Purse Tutorial for Teacher Gifts

This time of year is so special to me because I get to show my gratitude for all of the hard work that goes into teaching my daughters. I love to make handmade gifts and this year is no exception. Since money does not grow on trees around here, I looked at my stash (I keep my scraps in hat boxes ) and tried to see what I had a lot of; small zippers, trims, Peltex strips ( from making iPad cases ), fabric scraps and some hardware for key fobs. So I set to work.  Materials: Plastic multipurpose 5" Zipper  Fabric Scraps Lightweight interfacing 808 Pellon Trims (We clipped  key fobs  with 1.5" swivel hooks onto our coin purses . There are tons of tutorials on making key fobs .) Step 1: Print out the Coin Purse Template  PDF.  Cut 2 main fabric, cut 2 lining and 2 interfacing using the template.  Optional: Cut a 2"X2" square of your choice main fabric or lining. This strip of fabric is used to clip a key fob to your coin purse later....

Veruca Salt Dress

Every year we perform a musical and one of the highlights for me as a theater mom and seamstress is I get to make costumes! I love sewing and when I can sew for a show or for a music reason it is awesome! This year was Willy Wonka and the Chocolate Factory and I was able to recreate Veruca's red dress. The first step is to find a sewing pattern that I can manipulate to look like what the character needs.  I wanted to make the dress out of Pont de Roma fabric so it moved with the actress. Then I remembered the  Marianne Dress by Christine Haynes , it is perfect because it also had a peter pan collar. The peter pan collar did have some issues. I did not want a t-shirt binding. Also, the back of the collar did not have a collar. I drafted a back collar piece and since the opening was not stretchy, I created a keyhole with a button and loop closure. I lengthened the sleeves and used the cuffs from the pattern for long sleeves. Next, we added the buttons! We al...

Fun in the Sun Mermaid Tutorial

Sewing Materials: 1/4 yard of Lycra or  5T or larger old swimsuit Thread Stretch Needle (helps) Sewing Machine and Sewing Notions Print the PDF patterns pieces out and tape them together. ✄✄✄✄✄✄✄✄✄✄✄ ✄✄✄✄ ✄✄ Step 1: Cutting Layout-  Place the templates over the fabric and cut. ✄✄✄✄✄✄✄✄✄✄✄ ✄✄✄✄ ✄✄ Step 2:   Fold the top edges of the mermaid tail and sew across. ✄✄✄✄✄✄✄✄✄✄✄ ✄✄✄✄ ✄✄ Step 3: Place the mermaid tale pieces right sides together. Sew around the mermaid tail using the stretch stitch, it looks like a bolt of lighting. ✄✄✄✄✄✄✄✄✄✄✄ ✄✄✄✄ ✄✄ Step 4: Flip the mermaid tail right side out using a chopstick.   Option: You can add Poly-fil to make the end of the tale puffy.   Set aside. ✄✄✄✄✄✄✄✄✄✄✄ ✄✄✄✄ ✄✄ Bodice   Step 1: Cut a bodice measuring  4.5” X1.5” or use template. ✄✄✄✄✄✄✄✄✄✄✄ ✄✄✄✄ ✄✄ Step 2: Fold the bodice right sides together and sew the  short ends making a loop. Use the e...