These are the 5 Sew Spoiled Cabrio Tote Photo Winners! Each winner can choose any Sew Spoiled Pattern from my Etsy shop. Please contact me at leah.sewspoiled@gmail.com and let me know which pattern to send you.
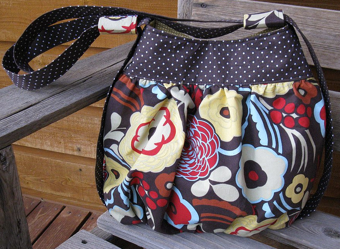
#1 Most Inspiring
✄✄✄✄✄✄✄✄✄✄✄✄✄✄✄✄✄✄✄✄✄✄✄✄✄✄✄✄✄✄✄✄✄✄✄✄✄✄
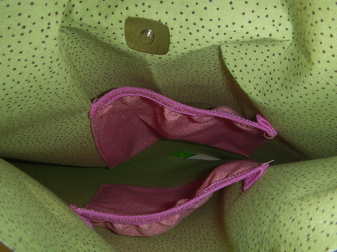
#2 Craziest Camera Angle
✄✄✄✄✄✄✄✄✄✄✄✄✄✄✄✄✄✄✄✄✄✄✄✄✄✄✄✄✄✄✄✄✄✄✄✄✄✄
#3 Loveliest Light

✄✄✄✄✄✄✄✄✄✄✄✄✄✄✄✄✄✄✄✄✄✄✄✄✄✄✄✄✄✄✄✄✄✄✄✄✄✄
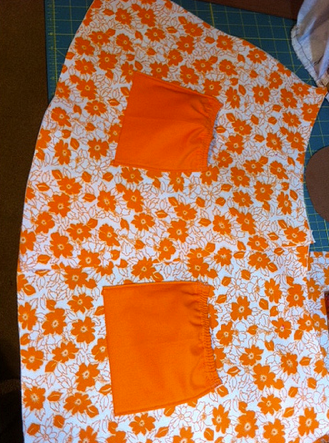
#4 Bag Making Magic
✄✄✄✄✄✄✄✄✄✄✄✄✄✄✄✄✄✄✄✄✄✄✄✄✄✄✄✄✄✄✄✄✄✄✄✄✄✄
#5 “Oops, I meant to do That?"

Thank you for sharing all of your pictures! I have enjoyed the sew along! If you have not finished your tote please do and add it to the Flickr: The Sew Spoiled Cabrio Tote Sew Along Pool. If you make a Sew Spoiled Cabrio Tote please add your tote pictures to Flickr: The Sew Spoiled Cabrio Tote Sew Along Pool.
We love seeing your successful sewing adventures.
Happy Sewing!
Comments
The sew-along has been a lot of fun & I hope to participate in another one soon.