
Weekender Tote Sew-a-long: Gather (Last one)

These fabrics from Joel Dewberry's Ginseng Collection are from Accidental Crafter's Photostream. 

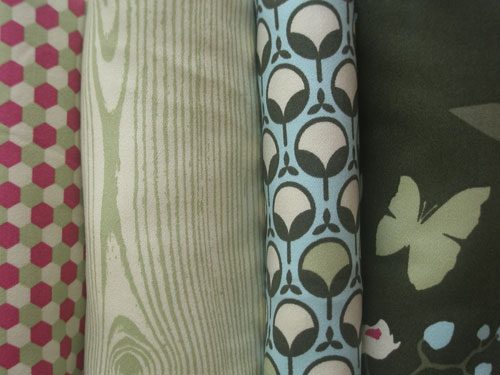
9crafty11 has chosen these beautiful Australian designed hand-printed fabrics. 
Thank you for sharing your photos with us.
 
Marysuewys chose these two fabrics from Anna Griffin's Lulu Collection

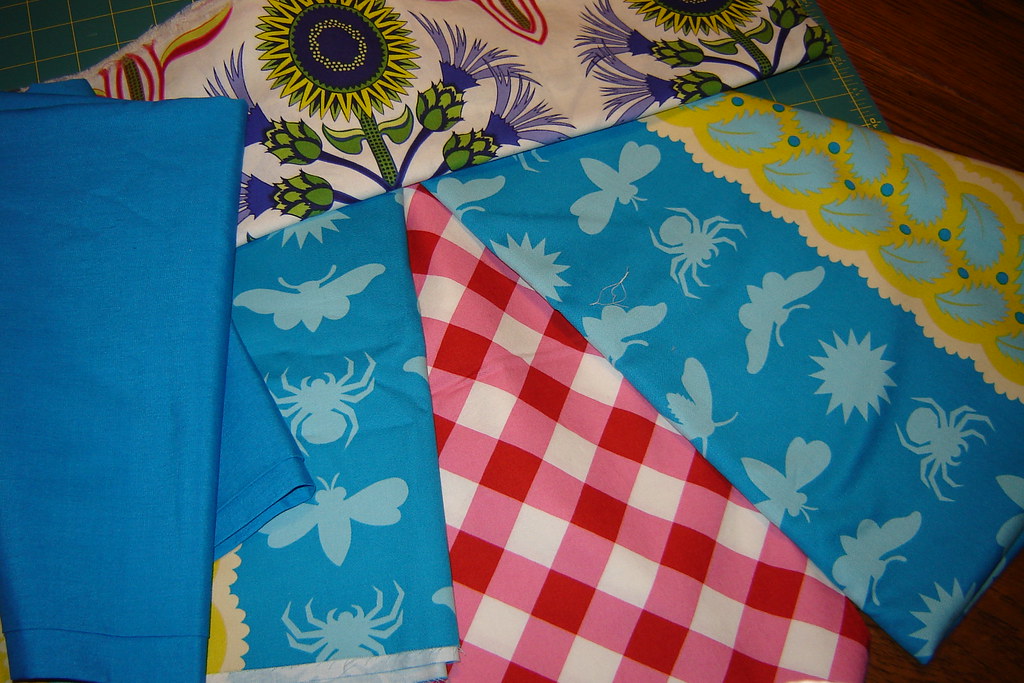
I love all of the colors that Emily Sue put together! These prints are all from Jane Sassarman's Prairie Gothic collection.

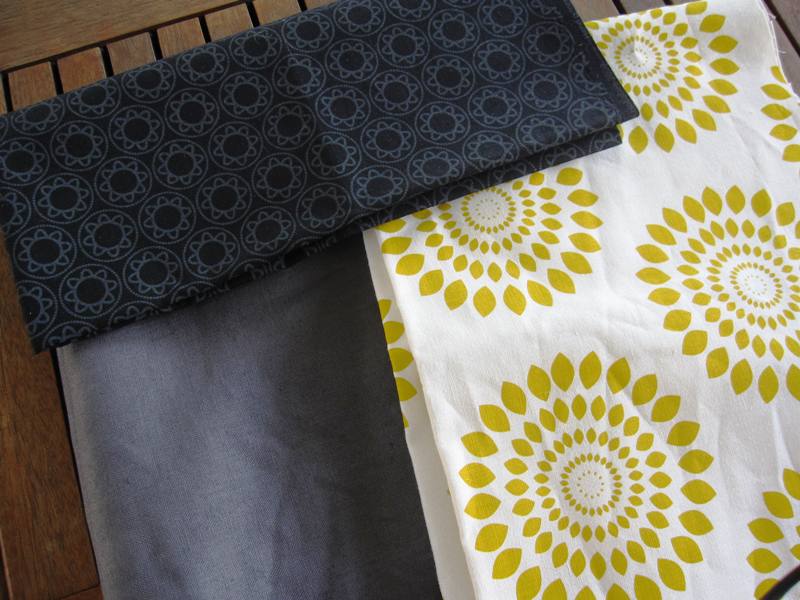
SweetLimes' posted these wonderful prints!
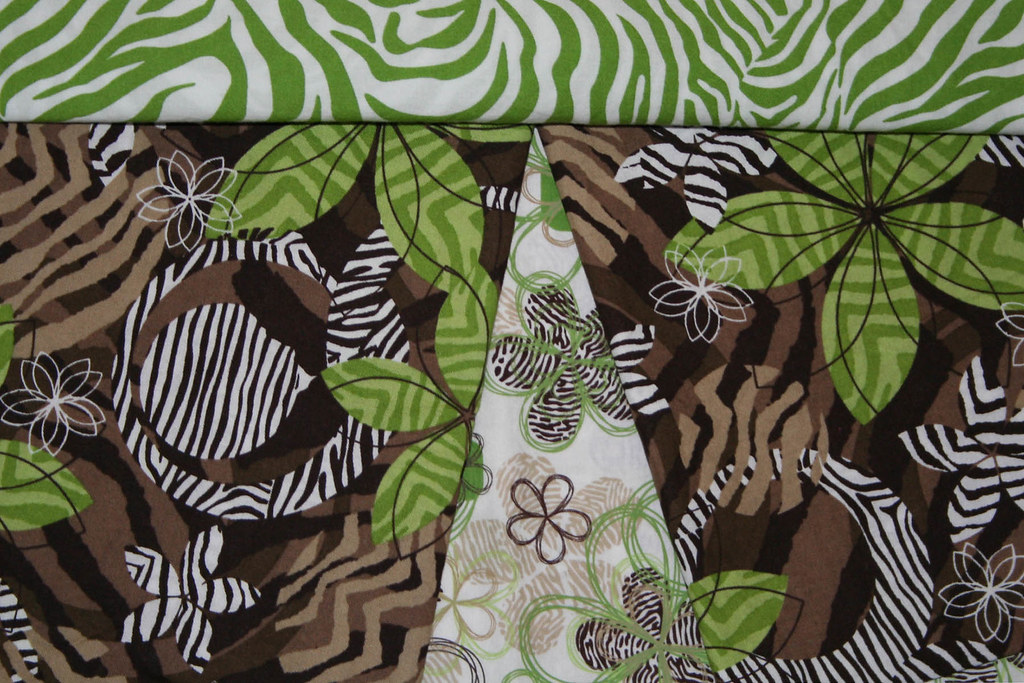
This is MomtoTyandRea's choice for the sew a long! I would love to know who they are by. I am seeing a lot of new prints! Thank you for sharing your gorgeous pictures!

If you are wondering about interfacing and fusible fleece, you might want to drop by the Flickr group for the discussion. I also found a great resource on interfacing at Sew Mama Sew from Amy Butler! Now on to cutting! There are 27 pieces to cut out. So that is about 4 each day or all at once:) . Please remember to take some pictures and post them on the Sew Spoiled Weekender Tote Project photo sharing group! I will try to give you some tricks that I use to sewing this bag, however I know some of you have tricks of your own. Please remember we all want to learn something new! So please share! Even if you think," Well everyone knows that....", please do not assume. 
(Assuming ways gets me in trouble with my husband:) lol
Anyway, here is our schedule! 
Cut out the pieces - - - - - - - - - - - - -May 2- May 8

Outer Shell Pleats - - - - - - - - - - - - -May 9- May 15

Straps and finish Outer Shell- - - - - -May 16- May 22

Pockets and Magnet Clasp - - - - - - May 23- May 29

Lining and Finish the Tote- - - - - - - May 30- June 5

Comments

Popular posts from this blog

Sweet Coin Purse Tutorial for Teacher Gifts

This time of year is so special to me because I get to show my gratitude for all of the hard work that goes into teaching my daughters. I love to make handmade gifts and this year is no exception. Since money does not grow on trees around here, I looked at my stash (I keep my scraps in hat boxes ) and tried to see what I had a lot of; small zippers, trims, Peltex strips ( from making iPad cases ), fabric scraps and some hardware for key fobs. So I set to work.  Materials: Plastic multipurpose 5" Zipper  Fabric Scraps Lightweight interfacing 808 Pellon Trims (We clipped  key fobs  with 1.5" swivel hooks onto our coin purses . There are tons of tutorials on making key fobs .) Step 1: Print out the Coin Purse Template  PDF.  Cut 2 main fabric, cut 2 lining and 2 interfacing using the template.  Optional: Cut a 2"X2" square of your choice main fabric or lining. This strip of fabric is used to clip a key fob to your coin purse later....

Fun in the Sun Mermaid Tutorial

Sewing Materials: 1/4 yard of Lycra or  5T or larger old swimsuit Thread Stretch Needle (helps) Sewing Machine and Sewing Notions Print the PDF patterns pieces out and tape them together. āœ„āœ„āœ„āœ„āœ„āœ„āœ„āœ„āœ„āœ„āœ„ āœ„āœ„āœ„āœ„ āœ„āœ„ Step 1: Cutting Layout-  Place the templates over the fabric and cut. āœ„āœ„āœ„āœ„āœ„āœ„āœ„āœ„āœ„āœ„āœ„ āœ„āœ„āœ„āœ„ āœ„āœ„ Step 2:   Fold the top edges of the mermaid tail and sew across. āœ„āœ„āœ„āœ„āœ„āœ„āœ„āœ„āœ„āœ„āœ„ āœ„āœ„āœ„āœ„ āœ„āœ„ Step 3: Place the mermaid tale pieces right sides together. Sew around the mermaid tail using the stretch stitch, it looks like a bolt of lighting. āœ„āœ„āœ„āœ„āœ„āœ„āœ„āœ„āœ„āœ„āœ„ āœ„āœ„āœ„āœ„ āœ„āœ„ Step 4: Flip the mermaid tail right side out using a chopstick.   Option: You can add Poly-fil to make the end of the tale puffy.   Set aside. āœ„āœ„āœ„āœ„āœ„āœ„āœ„āœ„āœ„āœ„āœ„ āœ„āœ„āœ„āœ„ āœ„āœ„ Bodice   Step 1: Cut a bodice measuring  4.5ā€ X1.5ā€ or use template. āœ„āœ„āœ„āœ„āœ„āœ„āœ„āœ„āœ„āœ„āœ„ āœ„āœ„āœ„āœ„ āœ„āœ„ Step 2: Fold the bodice right sides together and sew the  short ends making a loop. Use the e...

Cute as a Button Bookmark Tutorial

These are called Cute as a Button Bookmakers. They are cheap, easy to make and are wonderful gifts!  All you need is  Bookmarkers/ PaperClips Size 45 or 1 1/8" Button Covers and kit Glue Gun Pliers (which you won't need if you get the flat back buttons). Step 1: Make a few fabric covered buttons.  These are size 45 or 1 1/8" buttons. Step 2: If you use normal buttons you will need to take the loops off to make them flat. However you can buy flat back buttons and not have to worry about the loop. Step 3: Add a dab of hot glue to the top of the large paperclip pad and place your fabric button on top of the glue. Step 4: Let it cool and it's ready to use! Happy Crafting!