
Weekender Tote Sew-a-long: Pleat Week!

Wow! I am so impressed by the pictures on the Sew Spoiled Flickr Project Group! Each time I stop by to see what is new there are wonderful pictures like these! I don't know about you but seeing others successfulness makes me want to sew!!! 

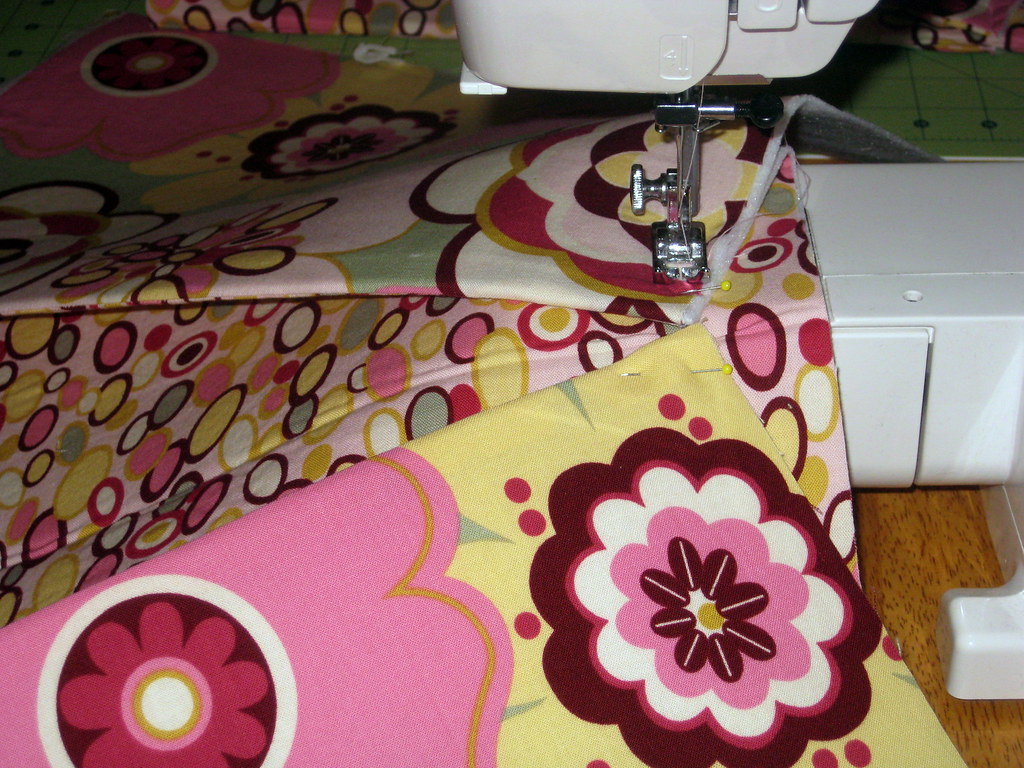
Twins Squared shared these pictures and they are helpful to see the steps for this week's sew a long! We are completing page 4 of the Sew Spoiled pattern steps 2 and 3. Many have started to cut the pleats out using the pleat template.
This is correct! A lot of people get to this step and stop! Don't stop you are right!!! Continue! I know that it seems like a lot of fabric but with the angle of the pleat I had no choice but to write it this way. Plus everyones pleat will be a little different. You are right so don't stop!!! Use the excess for a Buttercuppity Key Fob and Noodlehead Zippy wallet

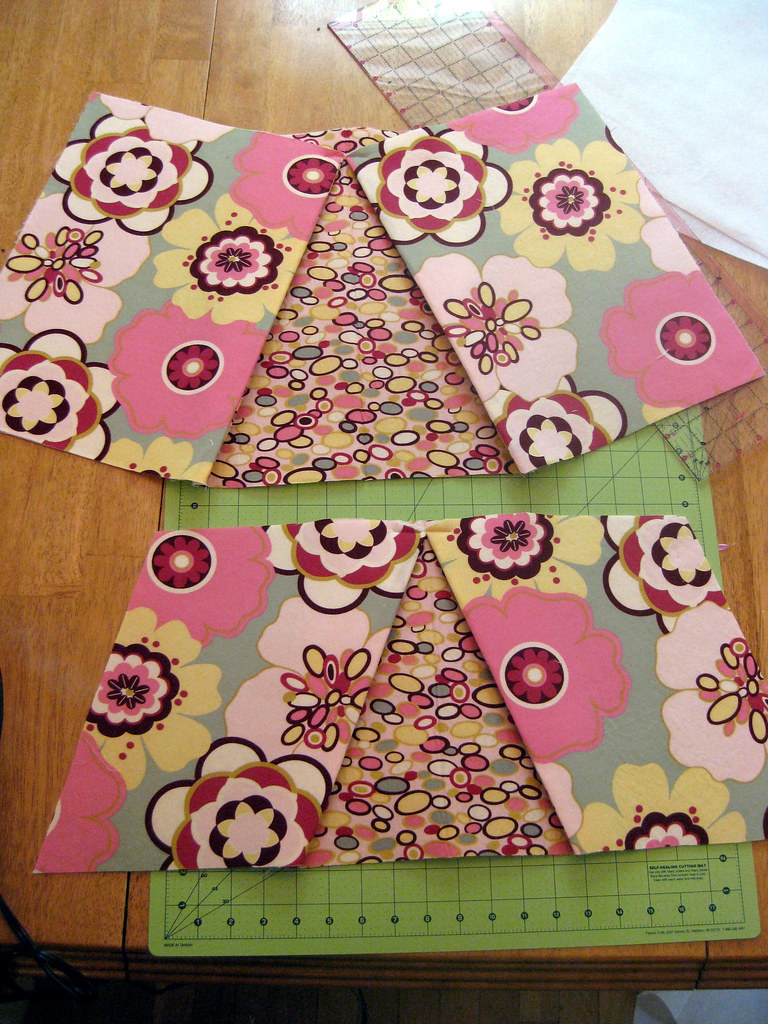
Here is another great picture, from Twins Squared, of what a cut pleat panel looks like and a non-cut pleat panel. Twins Squared also has started a blog of her own at Twincess Designs! Make sure you stop by and say "Hi!".

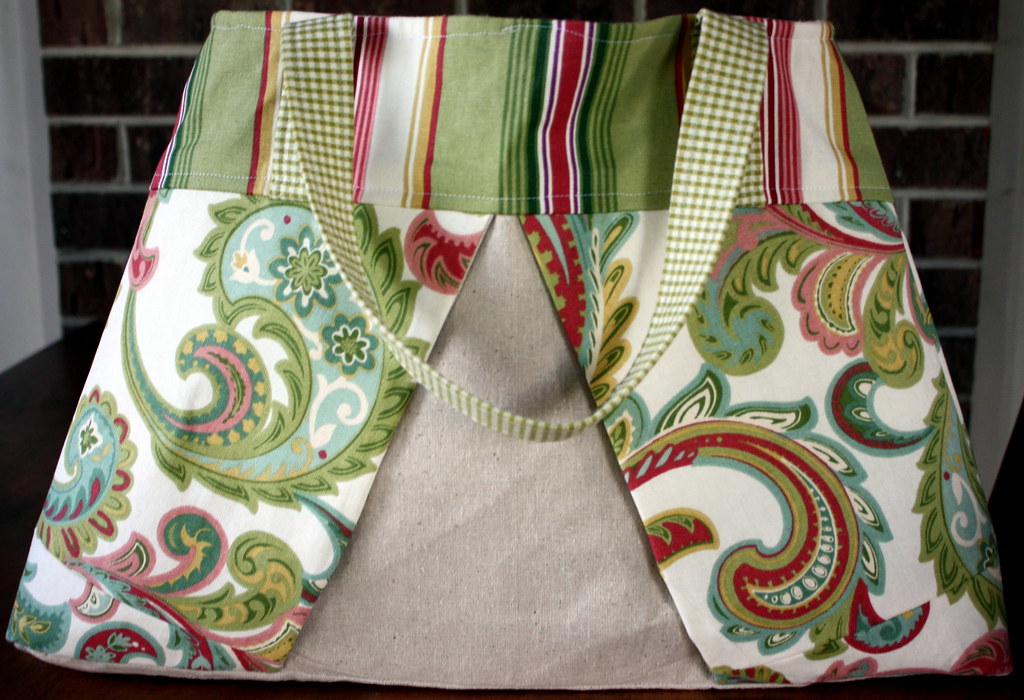
From Jenny Conklin's Photostream! A finished beautiful Sew Spoiled Weekender Tote!


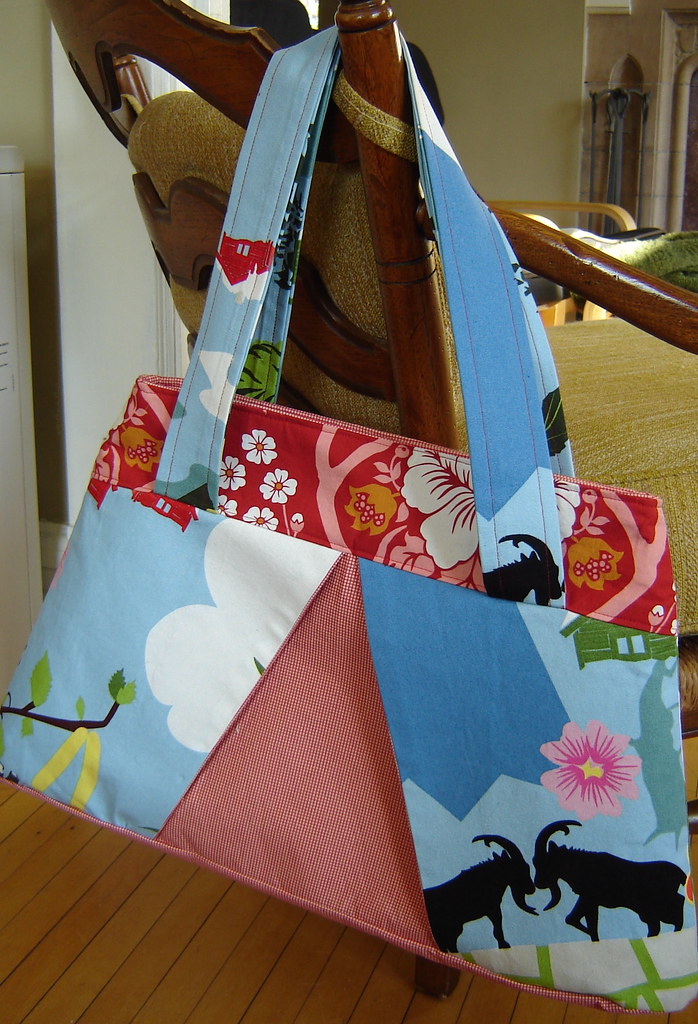
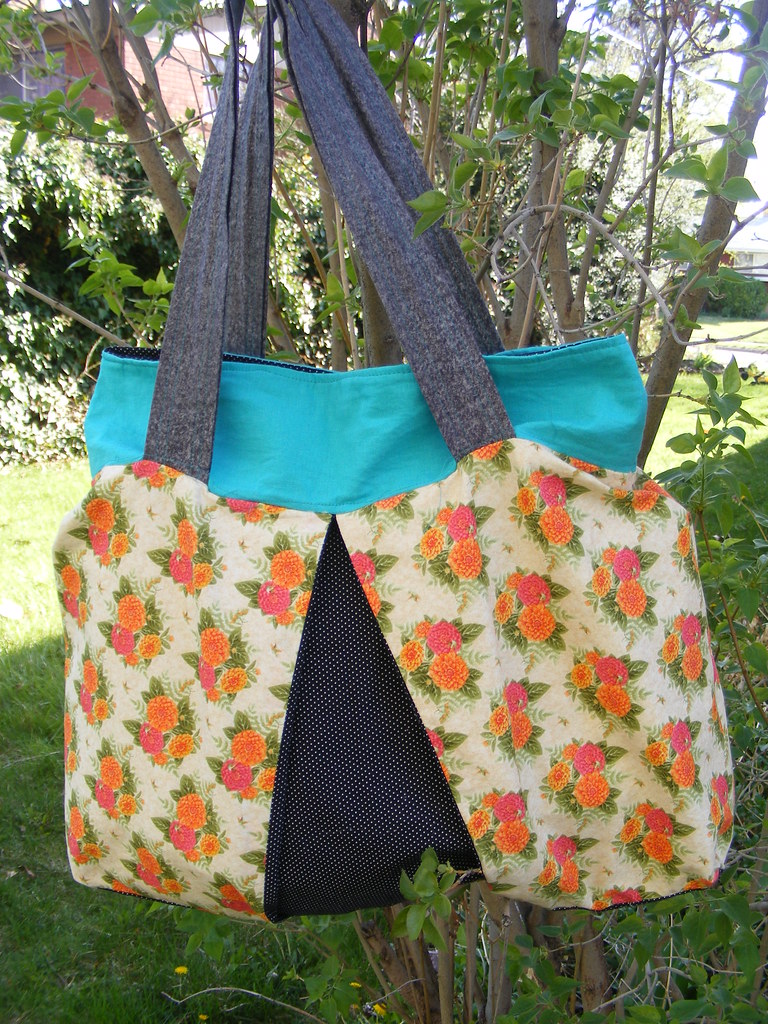
From EmilySue's Photosttream! I love these prints! What a fun bag to use!


From Migitys' Photostream! She has a blog at Migity's handmade. Make sure you stop by and say "Hi!".
Thank you for posting your pictures! You are all inspiring!
~Leah

Comments

Becky saidā€¦
I got distracted with other projects and haven't started my bag yet. The work so far is fabulous and inspiring!!!!
Jenny Lynn saidā€¦
Yay!
I made it on the blog :)
I feel famous!

I gave the bag to my mom for mother's day! She LOVED it :)

Thanks for the pattern!!

Popular posts from this blog

Sweet Coin Purse Tutorial for Teacher Gifts

This time of year is so special to me because I get to show my gratitude for all of the hard work that goes into teaching my daughters. I love to make handmade gifts and this year is no exception. Since money does not grow on trees around here, I looked at my stash (I keep my scraps in hat boxes ) and tried to see what I had a lot of; small zippers, trims, Peltex strips ( from making iPad cases ), fabric scraps and some hardware for key fobs. So I set to work.  Materials: Plastic multipurpose 5" Zipper  Fabric Scraps Lightweight interfacing 808 Pellon Trims (We clipped  key fobs  with 1.5" swivel hooks onto our coin purses . There are tons of tutorials on making key fobs .) Step 1: Print out the Coin Purse Template  PDF.  Cut 2 main fabric, cut 2 lining and 2 interfacing using the template.  Optional: Cut a 2"X2" square of your choice main fabric or lining. This strip of fabric is used to clip a key fob to your coin purse later....

Fun in the Sun Mermaid Tutorial

Sewing Materials: 1/4 yard of Lycra or  5T or larger old swimsuit Thread Stretch Needle (helps) Sewing Machine and Sewing Notions Print the PDF patterns pieces out and tape them together. āœ„āœ„āœ„āœ„āœ„āœ„āœ„āœ„āœ„āœ„āœ„ āœ„āœ„āœ„āœ„ āœ„āœ„ Step 1: Cutting Layout-  Place the templates over the fabric and cut. āœ„āœ„āœ„āœ„āœ„āœ„āœ„āœ„āœ„āœ„āœ„ āœ„āœ„āœ„āœ„ āœ„āœ„ Step 2:   Fold the top edges of the mermaid tail and sew across. āœ„āœ„āœ„āœ„āœ„āœ„āœ„āœ„āœ„āœ„āœ„ āœ„āœ„āœ„āœ„ āœ„āœ„ Step 3: Place the mermaid tale pieces right sides together. Sew around the mermaid tail using the stretch stitch, it looks like a bolt of lighting. āœ„āœ„āœ„āœ„āœ„āœ„āœ„āœ„āœ„āœ„āœ„ āœ„āœ„āœ„āœ„ āœ„āœ„ Step 4: Flip the mermaid tail right side out using a chopstick.   Option: You can add Poly-fil to make the end of the tale puffy.   Set aside. āœ„āœ„āœ„āœ„āœ„āœ„āœ„āœ„āœ„āœ„āœ„ āœ„āœ„āœ„āœ„ āœ„āœ„ Bodice   Step 1: Cut a bodice measuring  4.5ā€ X1.5ā€ or use template. āœ„āœ„āœ„āœ„āœ„āœ„āœ„āœ„āœ„āœ„āœ„ āœ„āœ„āœ„āœ„ āœ„āœ„ Step 2: Fold the bodice right sides together and sew the  short ends making a loop. Use the e...

Cute as a Button Bookmark Tutorial

These are called Cute as a Button Bookmakers. They are cheap, easy to make and are wonderful gifts!  All you need is  Bookmarkers/ PaperClips Size 45 or 1 1/8" Button Covers and kit Glue Gun Pliers (which you won't need if you get the flat back buttons). Step 1: Make a few fabric covered buttons.  These are size 45 or 1 1/8" buttons. Step 2: If you use normal buttons you will need to take the loops off to make them flat. However you can buy flat back buttons and not have to worry about the loop. Step 3: Add a dab of hot glue to the top of the large paperclip pad and place your fabric button on top of the glue. Step 4: Let it cool and it's ready to use! Happy Crafting!