
Cutting: Part 2

Once you have all of your supplies, you will begin to cut the Weekender Tote pieces from your fabrics. This is a critical step of the project, so please measure carefully. It takes time and effort to cut everything correctly. You will need to use the guide on page 3 of your Weekender Tote pattern. Everything is rectangular shapes except for the lining and pocket shapes. Set the pleat template aside, You will not need it until step 5, on page 5. 
Here is a look at our Flickr Group's work on this step...
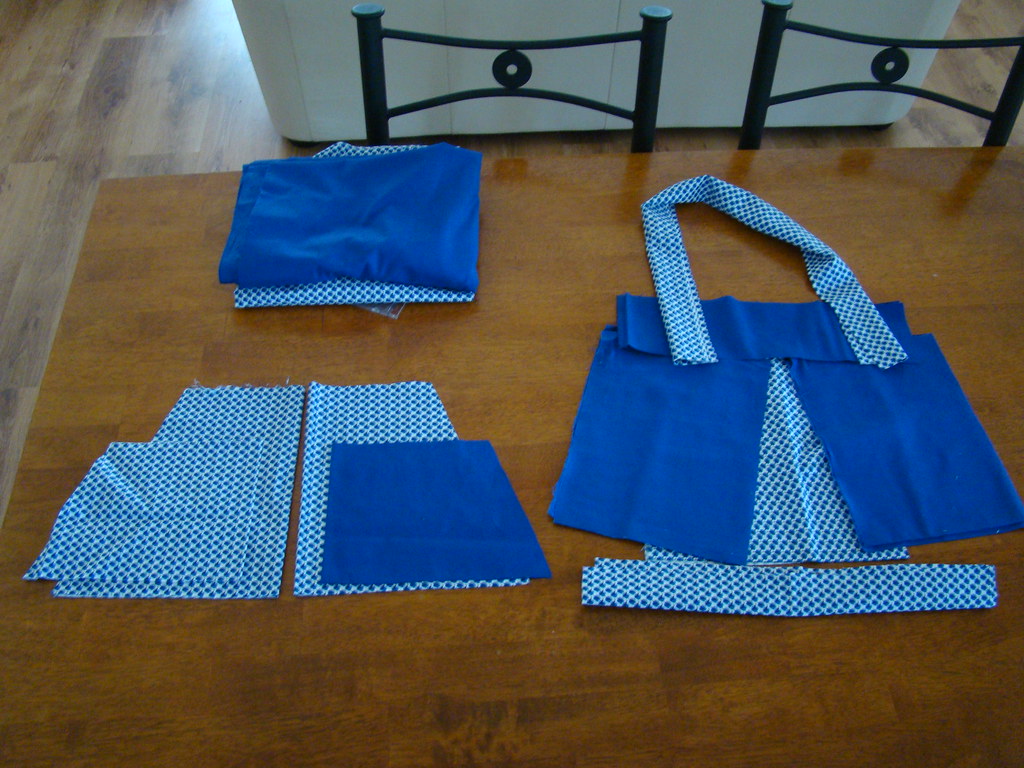
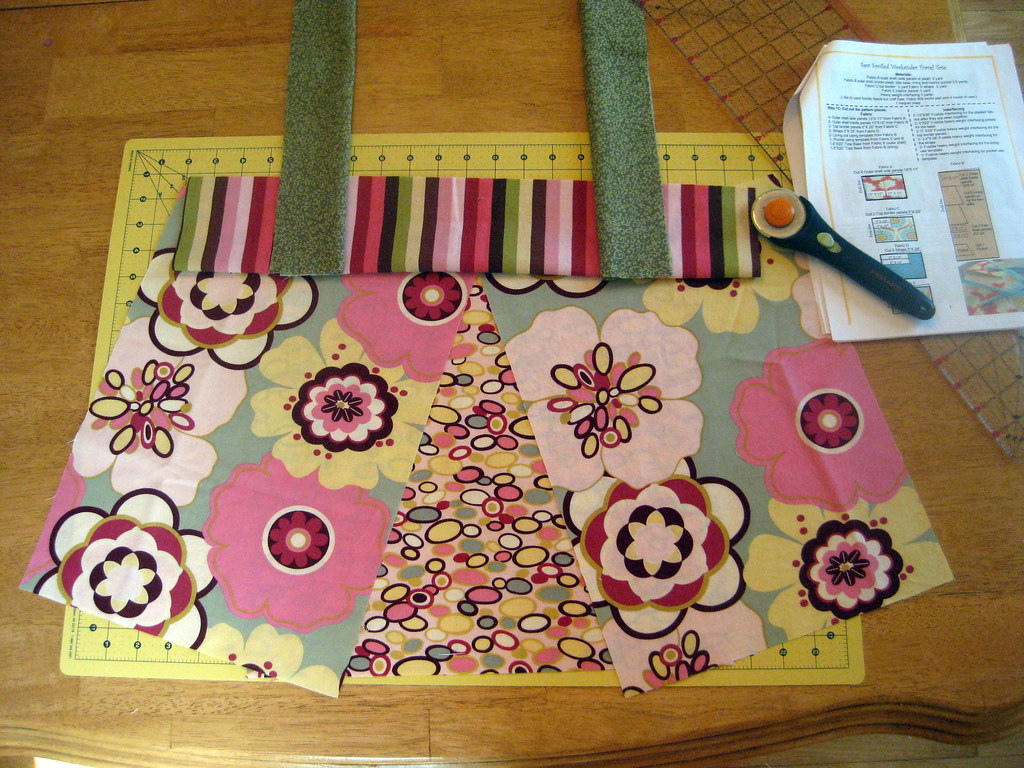
This is a great picture from CookCleanCraft. I like to lay out my pieces this way too. It is nice knowing I am not the only one.


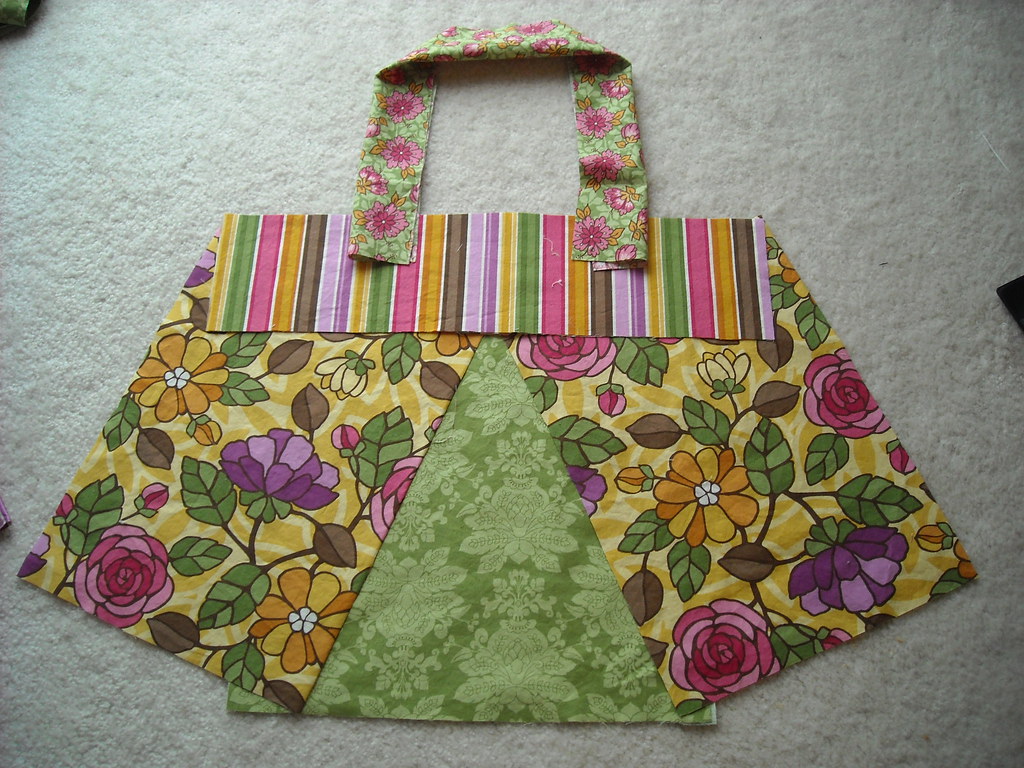
This picture is from Flickr photostream MyLittleHedgeHog, also visit her blog at HomeGrownHedgehog.


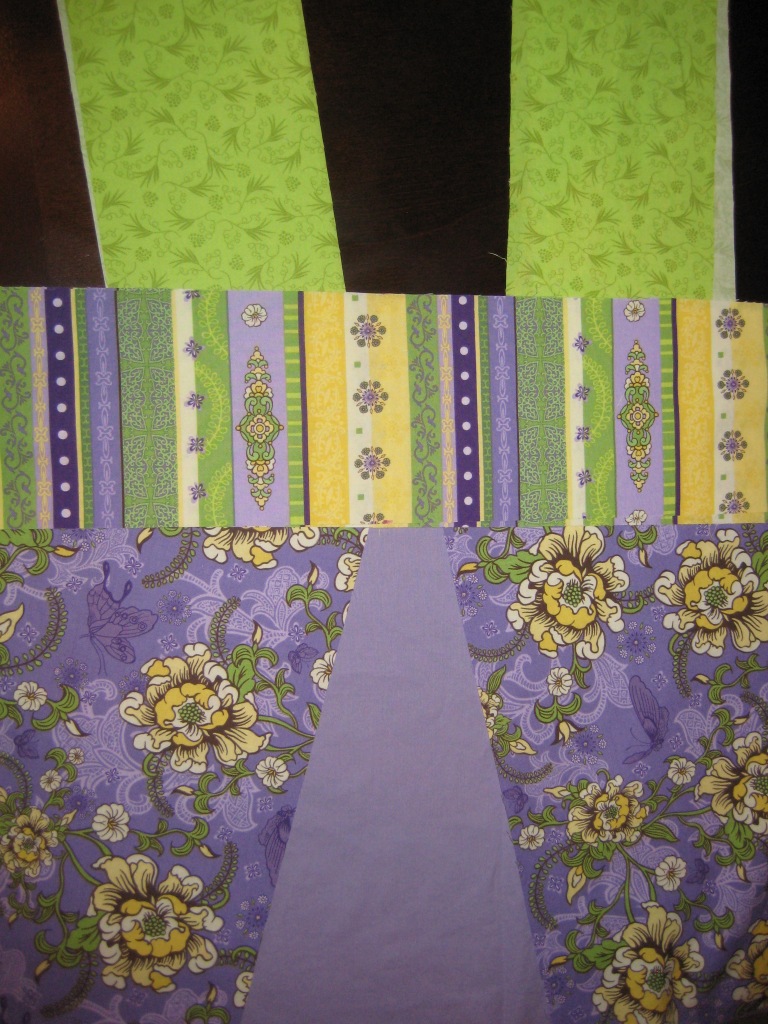
I adore this purple bag from A Kingly Affair


Le Touche A Tout's photostream


From Little Ditty Design's photostream

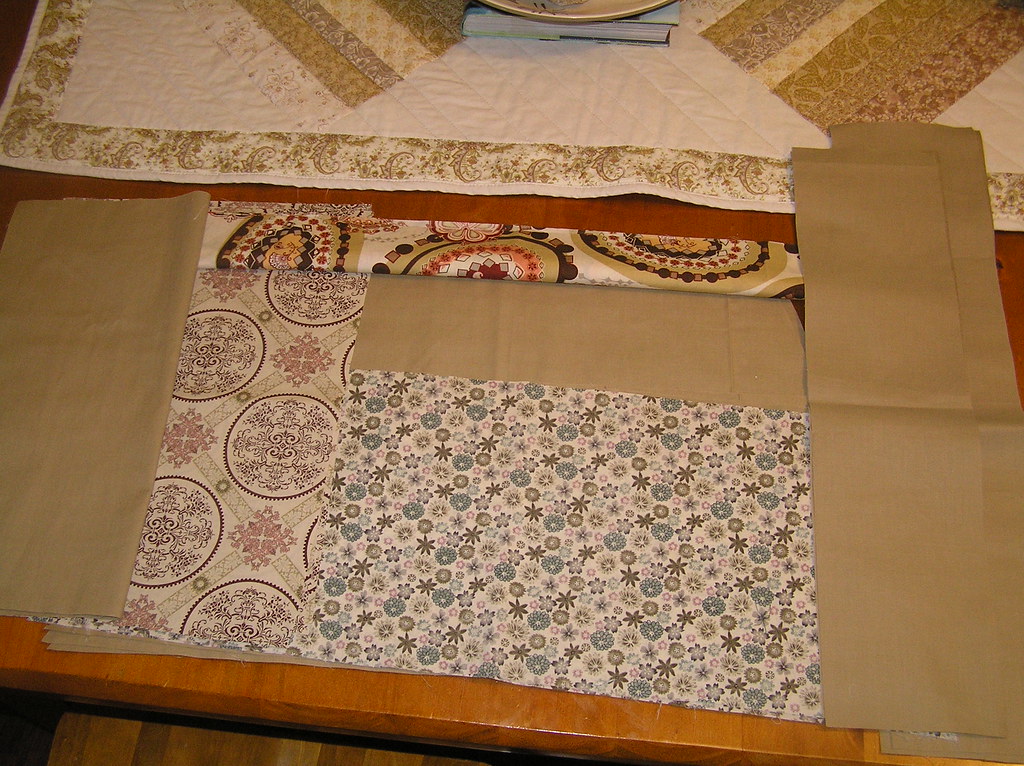
This is a fantastic picture is from Squarebag or QuiltBagsGardens blog! 
She looks very organized and ready!

From Twins Squared's photostream! 
Thank you for sharing your pictures everyone!
Great work!   Don't forget to treat yourself for completing each part of the sew along. It could be a nature walk, a relaxing bath, reading your favorite book or even more sewing time. Please feel free to share with the group some ways you have treated yourself!
Happy Cutting!
~Leah 

Comments

Unknown saidā€¦
It's great seeing how everyone's bags are coming together. There are some great fabric combinations. Maybe I'll be more adventurous with the next one (since I know this bag is going to be a success!).
MAM saidā€¦
OH dear - I signed up and haven't had time to do a thing! Sorry, I won't be posting - at least not now.
martha ann
Thanks for the link back, Leah. This is really going to be fun.
http://quiltsbagsgardens.blogspot.com/
Mama Lusco saidā€¦
Are we cutting and fusing the interfacing this week, too?
luscofamily@ortelco.net
Jennifer saidā€¦
I know this question is technically for the step we are doing this week, but do you have any photos of you laying the pleat pattern onto the patchwork pleat for cutting? I'm a bit confused! (I blame being 26 weeks pregnant - ha!) Thank you!!

Popular posts from this blog

Sweet Coin Purse Tutorial for Teacher Gifts

This time of year is so special to me because I get to show my gratitude for all of the hard work that goes into teaching my daughters. I love to make handmade gifts and this year is no exception. Since money does not grow on trees around here, I looked at my stash (I keep my scraps in hat boxes ) and tried to see what I had a lot of; small zippers, trims, Peltex strips ( from making iPad cases ), fabric scraps and some hardware for key fobs. So I set to work.  Materials: Plastic multipurpose 5" Zipper  Fabric Scraps Lightweight interfacing 808 Pellon Trims (We clipped  key fobs  with 1.5" swivel hooks onto our coin purses . There are tons of tutorials on making key fobs .) Step 1: Print out the Coin Purse Template  PDF.  Cut 2 main fabric, cut 2 lining and 2 interfacing using the template.  Optional: Cut a 2"X2" square of your choice main fabric or lining. This strip of fabric is used to clip a key fob to your coin purse later....

Fun in the Sun Mermaid Tutorial

Sewing Materials: 1/4 yard of Lycra or  5T or larger old swimsuit Thread Stretch Needle (helps) Sewing Machine and Sewing Notions Print the PDF patterns pieces out and tape them together. āœ„āœ„āœ„āœ„āœ„āœ„āœ„āœ„āœ„āœ„āœ„ āœ„āœ„āœ„āœ„ āœ„āœ„ Step 1: Cutting Layout-  Place the templates over the fabric and cut. āœ„āœ„āœ„āœ„āœ„āœ„āœ„āœ„āœ„āœ„āœ„ āœ„āœ„āœ„āœ„ āœ„āœ„ Step 2:   Fold the top edges of the mermaid tail and sew across. āœ„āœ„āœ„āœ„āœ„āœ„āœ„āœ„āœ„āœ„āœ„ āœ„āœ„āœ„āœ„ āœ„āœ„ Step 3: Place the mermaid tale pieces right sides together. Sew around the mermaid tail using the stretch stitch, it looks like a bolt of lighting. āœ„āœ„āœ„āœ„āœ„āœ„āœ„āœ„āœ„āœ„āœ„ āœ„āœ„āœ„āœ„ āœ„āœ„ Step 4: Flip the mermaid tail right side out using a chopstick.   Option: You can add Poly-fil to make the end of the tale puffy.   Set aside. āœ„āœ„āœ„āœ„āœ„āœ„āœ„āœ„āœ„āœ„āœ„ āœ„āœ„āœ„āœ„ āœ„āœ„ Bodice   Step 1: Cut a bodice measuring  4.5ā€ X1.5ā€ or use template. āœ„āœ„āœ„āœ„āœ„āœ„āœ„āœ„āœ„āœ„āœ„ āœ„āœ„āœ„āœ„ āœ„āœ„ Step 2: Fold the bodice right sides together and sew the  short ends making a loop. Use the e...

Cute as a Button Bookmark Tutorial

These are called Cute as a Button Bookmakers. They are cheap, easy to make and are wonderful gifts!  All you need is  Bookmarkers/ PaperClips Size 45 or 1 1/8" Button Covers and kit Glue Gun Pliers (which you won't need if you get the flat back buttons). Step 1: Make a few fabric covered buttons.  These are size 45 or 1 1/8" buttons. Step 2: If you use normal buttons you will need to take the loops off to make them flat. However you can buy flat back buttons and not have to worry about the loop. Step 3: Add a dab of hot glue to the top of the large paperclip pad and place your fabric button on top of the glue. Step 4: Let it cool and it's ready to use! Happy Crafting!