
Gathering: Choices, Choices, Choices

Wow!!! I can not believe how many are joining the Weekender Tote sew-a-long!!! Please do not forget to also sign up on flickr, Sew Spoiled Weekender Tote Project. After you share your pictures there I will make blog posts with our groups progress using some of the feedback I gather from Flickr! Speaking of gather.... I am have such a hard time choosing fabrics! Maybe you can help:) ! 
I loves these prints are Stone Flora and Fauna fabrics by Patty Young from Michael Miller Fabrics. I love the contrast between the stone and bright colors! I could see this Weekender Tote being part of a girls weekend! Just the girls, pink and sassy! No boys allow weekend!
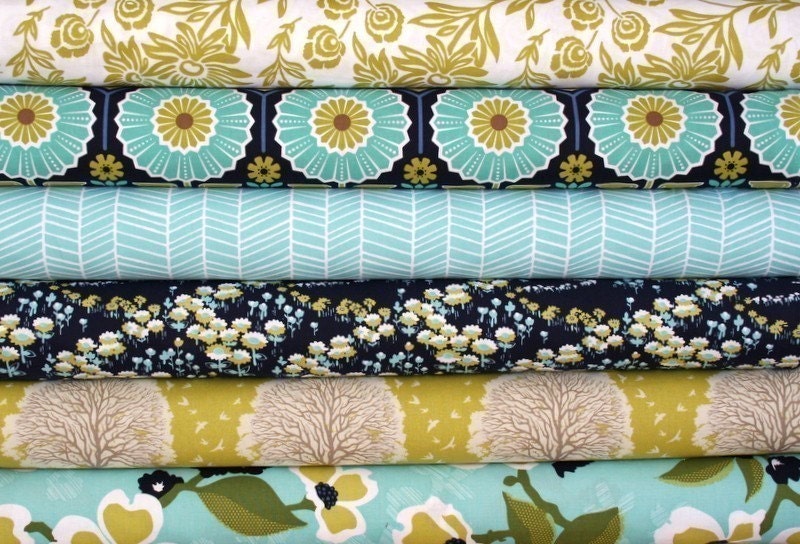
I have not made anything from Amy Butler's Love Collection! What a great opportunity this would be! This Weekender Tote would need to go to the beach! Somewhere fun and in the sun!
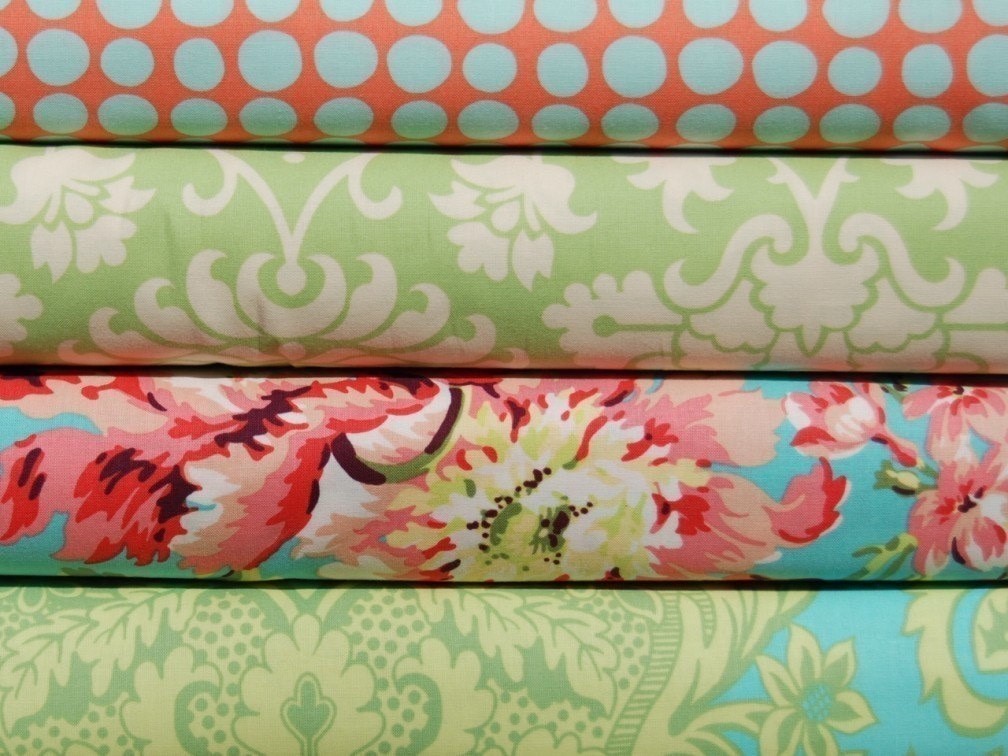
These prints are from Joel Dewberry's Modern Meadow Collection with Free Spirit and Rowan Fabrics. If I made a Weekender Tote with these prints I would have to go somewhere relaxing, Spa Weekend!
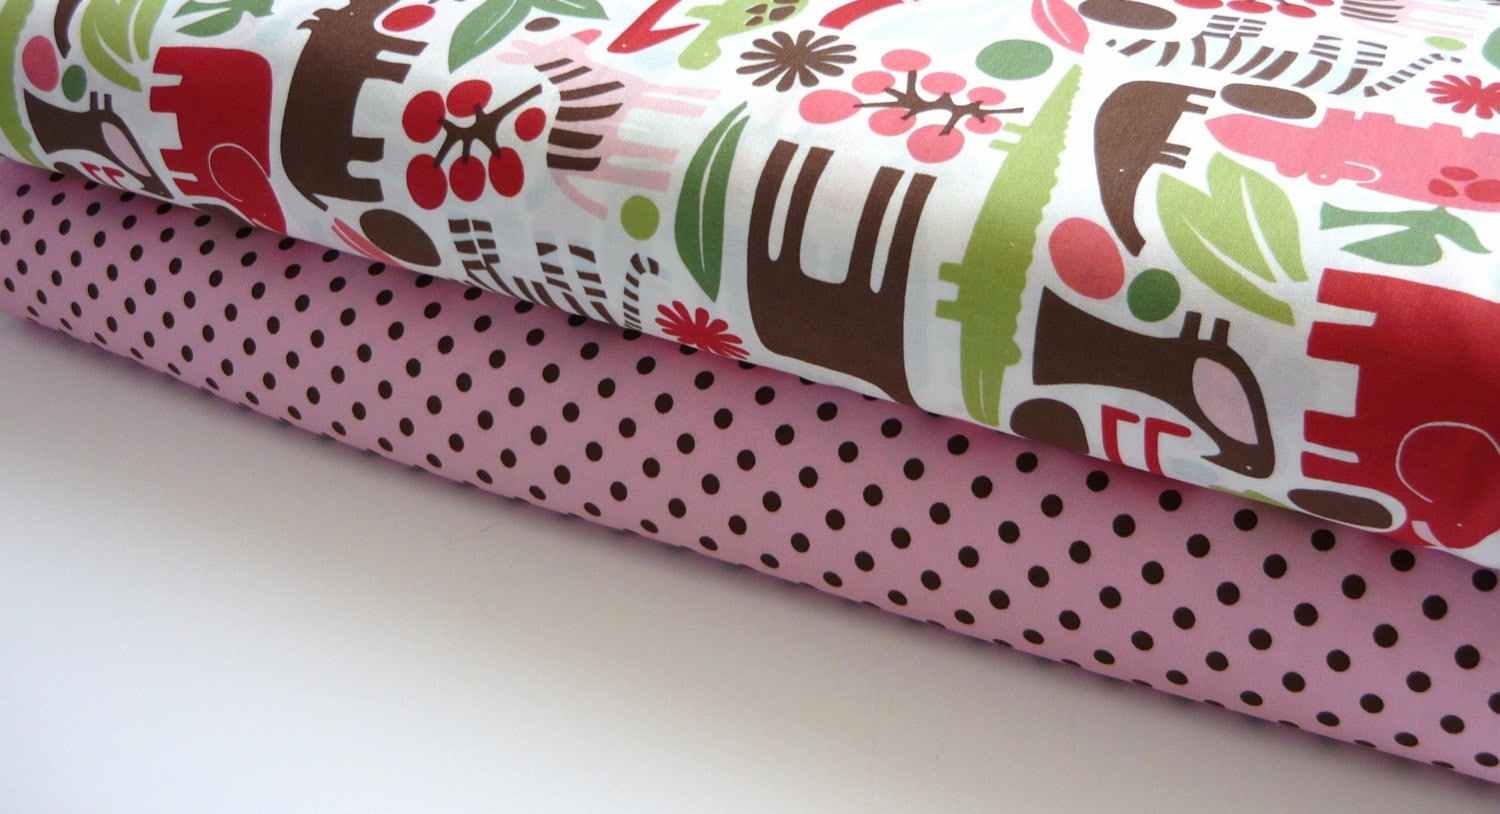
I adore these two prints they are Alexander Henry's 2-D Zoo Holly and Pink Dumb Dots from Michael Miller. They have both prints in pink and blue. You might have already guessed where I am going with this, a diaper bag would be super cute!!!
Here is also Amy Butler's Interfacing guide. I thought it might help. I usually use fusible fleece but I think I might try a lighter weight interfacing this time Pellon 809 has been my recent favorite. It is so much easier to sew, especially if you are a beginner.
Ok, so what are you thinking about using fabric wise?? Which fabric collection should I choose?
Smiles!
~Leah

Comments

Janel saidā€¦
HOLY COW!!! Those are some tough choices! I think you should do one bag with each collection! haha!!!!
9crafty11 saidā€¦
Hmmm..it is very tough to choose. I think you could make all 3 to in the time frame provided lol :) If you did have to choose, though I like them in the order you have placed them.
Dina saidā€¦
Do all three!!! I really like the Amy Butler Love collection.
sprigofivy saidā€¦
I love the tote, and have been trying to follow the pattern with little luck, and lots of seem ripping. I am hoping something will eventually come together, but its frustrating.
Christine saidā€¦
the first collection is my fav.
Kirsty saidā€¦
Amy Butler - I would love to make a bag from an Amy Butler rangebut sadly it is tooo expensive for me in Australia ($27 a metre/yard).
Ginger saidā€¦
That's a hard choice. I really like #1 and #3. Or you could just make one of each. :-)
Elena saidā€¦
I'm having trouble choosing mine. Of your bundles, I vote for the Modern Meadow first, and then the Amy Butler bundle.

Popular posts from this blog

Sweet Coin Purse Tutorial for Teacher Gifts

This time of year is so special to me because I get to show my gratitude for all of the hard work that goes into teaching my daughters. I love to make handmade gifts and this year is no exception. Since money does not grow on trees around here, I looked at my stash (I keep my scraps in hat boxes ) and tried to see what I had a lot of; small zippers, trims, Peltex strips ( from making iPad cases ), fabric scraps and some hardware for key fobs. So I set to work.  Materials: Plastic multipurpose 5" Zipper  Fabric Scraps Lightweight interfacing 808 Pellon Trims (We clipped  key fobs  with 1.5" swivel hooks onto our coin purses . There are tons of tutorials on making key fobs .) Step 1: Print out the Coin Purse Template  PDF.  Cut 2 main fabric, cut 2 lining and 2 interfacing using the template.  Optional: Cut a 2"X2" square of your choice main fabric or lining. This strip of fabric is used to clip a key fob to your coin purse later....

Fun in the Sun Mermaid Tutorial

Sewing Materials: 1/4 yard of Lycra or  5T or larger old swimsuit Thread Stretch Needle (helps) Sewing Machine and Sewing Notions Print the PDF patterns pieces out and tape them together. āœ„āœ„āœ„āœ„āœ„āœ„āœ„āœ„āœ„āœ„āœ„ āœ„āœ„āœ„āœ„ āœ„āœ„ Step 1: Cutting Layout-  Place the templates over the fabric and cut. āœ„āœ„āœ„āœ„āœ„āœ„āœ„āœ„āœ„āœ„āœ„ āœ„āœ„āœ„āœ„ āœ„āœ„ Step 2:   Fold the top edges of the mermaid tail and sew across. āœ„āœ„āœ„āœ„āœ„āœ„āœ„āœ„āœ„āœ„āœ„ āœ„āœ„āœ„āœ„ āœ„āœ„ Step 3: Place the mermaid tale pieces right sides together. Sew around the mermaid tail using the stretch stitch, it looks like a bolt of lighting. āœ„āœ„āœ„āœ„āœ„āœ„āœ„āœ„āœ„āœ„āœ„ āœ„āœ„āœ„āœ„ āœ„āœ„ Step 4: Flip the mermaid tail right side out using a chopstick.   Option: You can add Poly-fil to make the end of the tale puffy.   Set aside. āœ„āœ„āœ„āœ„āœ„āœ„āœ„āœ„āœ„āœ„āœ„ āœ„āœ„āœ„āœ„ āœ„āœ„ Bodice   Step 1: Cut a bodice measuring  4.5ā€ X1.5ā€ or use template. āœ„āœ„āœ„āœ„āœ„āœ„āœ„āœ„āœ„āœ„āœ„ āœ„āœ„āœ„āœ„ āœ„āœ„ Step 2: Fold the bodice right sides together and sew the  short ends making a loop. Use the e...

Cute as a Button Bookmark Tutorial

These are called Cute as a Button Bookmakers. They are cheap, easy to make and are wonderful gifts!  All you need is  Bookmarkers/ PaperClips Size 45 or 1 1/8" Button Covers and kit Glue Gun Pliers (which you won't need if you get the flat back buttons). Step 1: Make a few fabric covered buttons.  These are size 45 or 1 1/8" buttons. Step 2: If you use normal buttons you will need to take the loops off to make them flat. However you can buy flat back buttons and not have to worry about the loop. Step 3: Add a dab of hot glue to the top of the large paperclip pad and place your fabric button on top of the glue. Step 4: Let it cool and it's ready to use! Happy Crafting!