
Kid Pik Review

IMG_3082
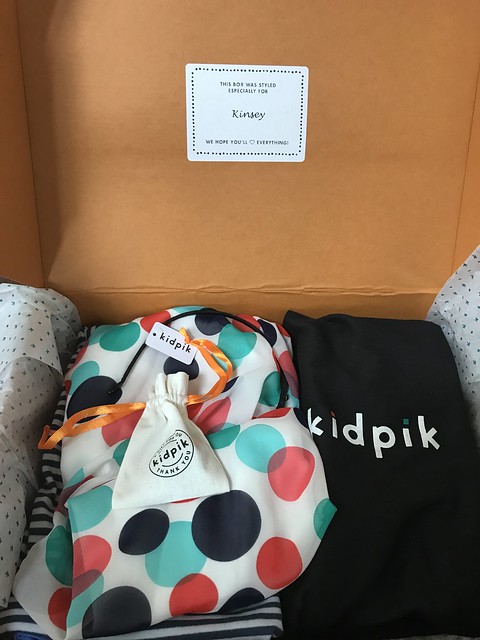
We decided to try Kid Pik. If you haven't heard of Kid Pik it is a company like Stitch Fix, where you enter information about yourself (or in this case about your daughter) and a fashion consultant sends you a box of 7 items. We received a light sweater, sandals, a bubble top, a tank top, one pair of shorts, a pair of jeans, a headband and a stripe/ floral top. 
IMG_3084
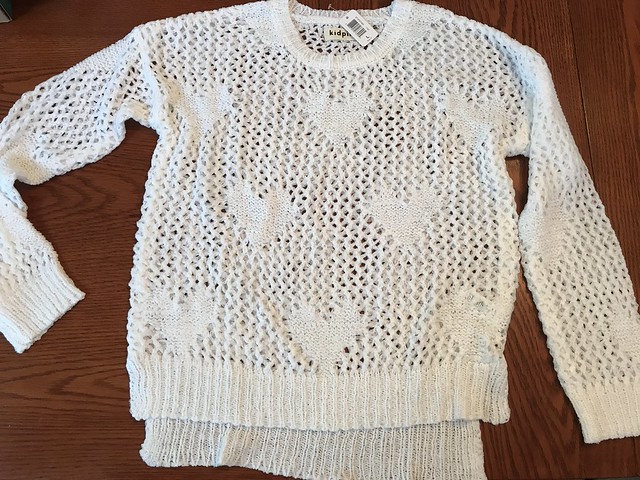
Super cute sweater, with hearts knitted into the fabric.
IMG_3085
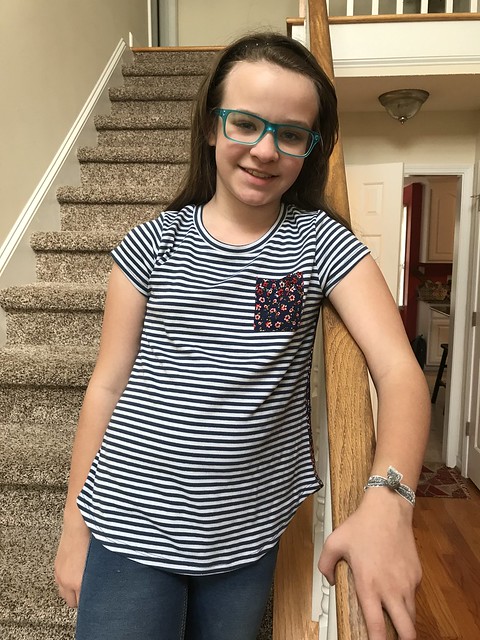
This is the shirt my daughter fell in love with. Love at first site! It also matches a lot of the items already in her closet. She is also wearing a sparkly navy headband. We decided to keep both!
IMG_3087
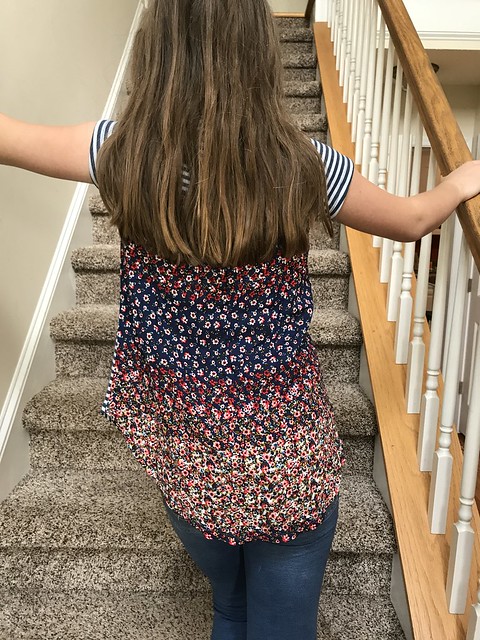
This is my favorite, beautiful flower fabric sewn to the back of the shirt.
IMG_3091
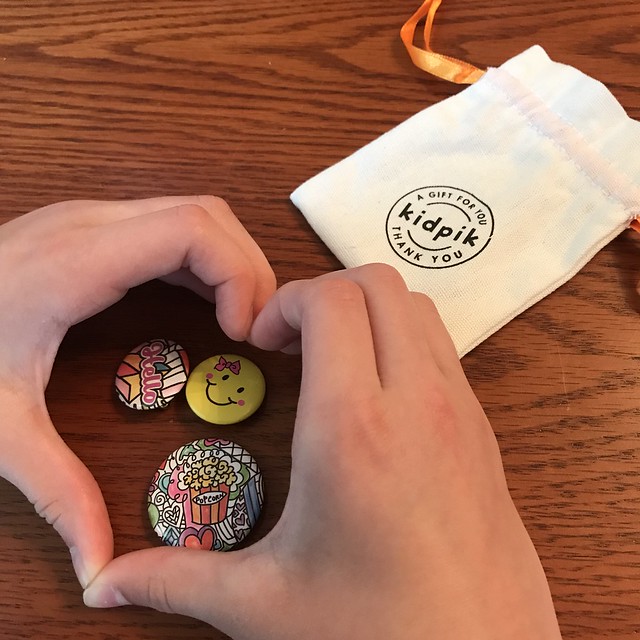
This was a free gift! She received 5 pins she can place on her bookbag, purse or denim jean jacket! Many of the items were placed in cute bags!
IMG_3092
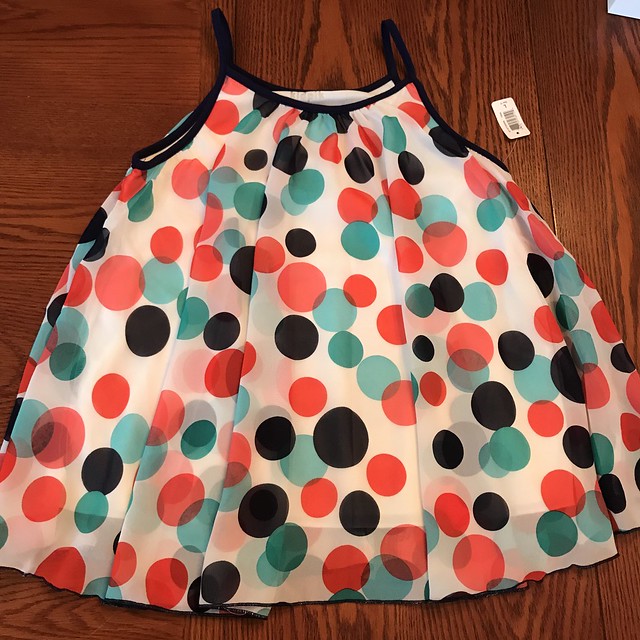
I loved this item the dot swing tank but my daughter didn't. I was hoping she would keep it. This part was hard. I listened to her wishes and put it back in the send back bag. That made her feel good, later when we were on the site telling Kid Pik what we wanted. We were able to tell them this item is not her style, she loved being able to let them know she doesn't like something.
IMG_3093
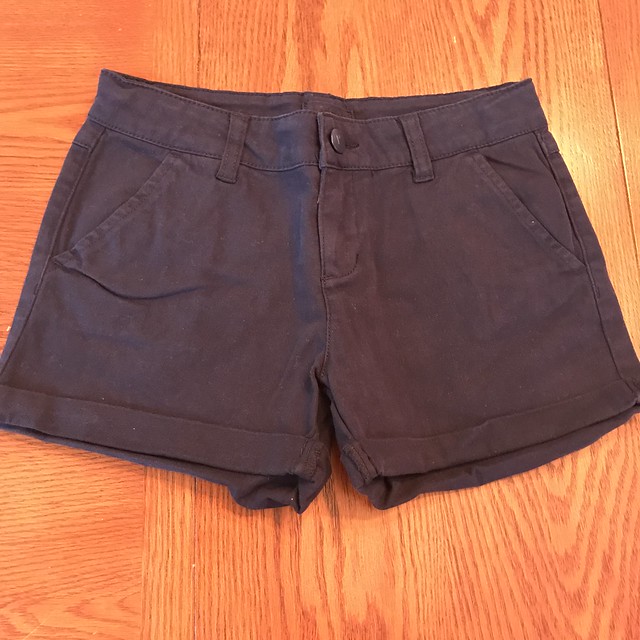
These were cute but they are too short for school. If we can't wear them to school we don't buy!
IMG_3094
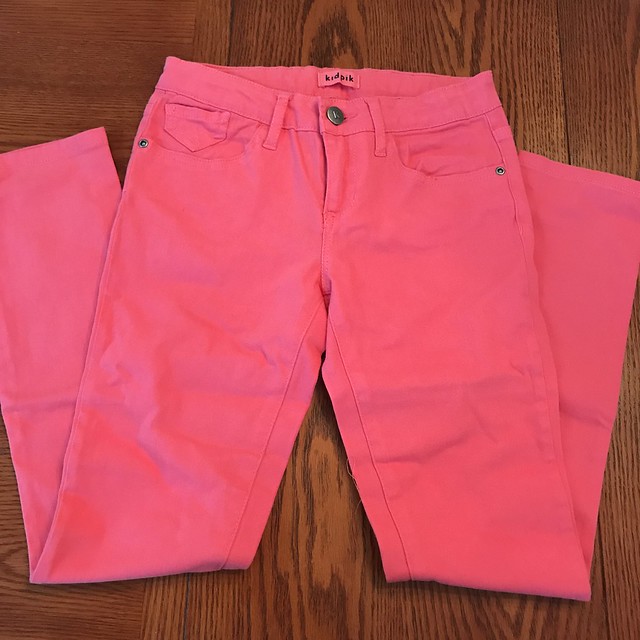
These were cute too, but the weather here is already in the high 80's. So no pants!
IMG_3096
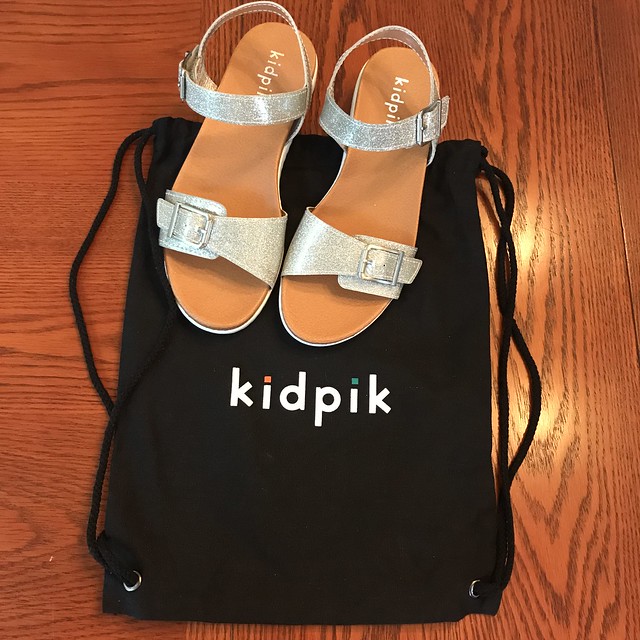
My girls are the same shoe size. Which is weird because they are 3 years apart. Both of them did not like the silver sandals. Oh well, I guess we will see what happens next time. Just receiving mail was so much fun.  
IMG_3097
Kid Pik did not get in touch with Sew Spoiled and wanted us to review. This was all on our own. It was totally free and we kept two items, paid for them, and sent the rest back free of charge. So far it has been a great experience. There are some rules; you have 7 days to send back the items you don't want to keep and don't try them on if you don't want to keep them.

Comments

Popular posts from this blog

Sweet Coin Purse Tutorial for Teacher Gifts

This time of year is so special to me because I get to show my gratitude for all of the hard work that goes into teaching my daughters. I love to make handmade gifts and this year is no exception. Since money does not grow on trees around here, I looked at my stash (I keep my scraps in hat boxes ) and tried to see what I had a lot of; small zippers, trims, Peltex strips ( from making iPad cases ), fabric scraps and some hardware for key fobs. So I set to work.  Materials: Plastic multipurpose 5" Zipper  Fabric Scraps Lightweight interfacing 808 Pellon Trims (We clipped  key fobs  with 1.5" swivel hooks onto our coin purses . There are tons of tutorials on making key fobs .) Step 1: Print out the Coin Purse Template  PDF.  Cut 2 main fabric, cut 2 lining and 2 interfacing using the template.  Optional: Cut a 2"X2" square of your choice main fabric or lining. This strip of fabric is used to clip a key fob to your coin purse later....

Fun in the Sun Mermaid Tutorial

Sewing Materials: 1/4 yard of Lycra or  5T or larger old swimsuit Thread Stretch Needle (helps) Sewing Machine and Sewing Notions Print the PDF patterns pieces out and tape them together. āœ„āœ„āœ„āœ„āœ„āœ„āœ„āœ„āœ„āœ„āœ„ āœ„āœ„āœ„āœ„ āœ„āœ„ Step 1: Cutting Layout-  Place the templates over the fabric and cut. āœ„āœ„āœ„āœ„āœ„āœ„āœ„āœ„āœ„āœ„āœ„ āœ„āœ„āœ„āœ„ āœ„āœ„ Step 2:   Fold the top edges of the mermaid tail and sew across. āœ„āœ„āœ„āœ„āœ„āœ„āœ„āœ„āœ„āœ„āœ„ āœ„āœ„āœ„āœ„ āœ„āœ„ Step 3: Place the mermaid tale pieces right sides together. Sew around the mermaid tail using the stretch stitch, it looks like a bolt of lighting. āœ„āœ„āœ„āœ„āœ„āœ„āœ„āœ„āœ„āœ„āœ„ āœ„āœ„āœ„āœ„ āœ„āœ„ Step 4: Flip the mermaid tail right side out using a chopstick.   Option: You can add Poly-fil to make the end of the tale puffy.   Set aside. āœ„āœ„āœ„āœ„āœ„āœ„āœ„āœ„āœ„āœ„āœ„ āœ„āœ„āœ„āœ„ āœ„āœ„ Bodice   Step 1: Cut a bodice measuring  4.5ā€ X1.5ā€ or use template. āœ„āœ„āœ„āœ„āœ„āœ„āœ„āœ„āœ„āœ„āœ„ āœ„āœ„āœ„āœ„ āœ„āœ„ Step 2: Fold the bodice right sides together and sew the  short ends making a loop. Use the e...

Cute as a Button Bookmark Tutorial

These are called Cute as a Button Bookmakers. They are cheap, easy to make and are wonderful gifts!  All you need is  Bookmarkers/ PaperClips Size 45 or 1 1/8" Button Covers and kit Glue Gun Pliers (which you won't need if you get the flat back buttons). Step 1: Make a few fabric covered buttons.  These are size 45 or 1 1/8" buttons. Step 2: If you use normal buttons you will need to take the loops off to make them flat. However you can buy flat back buttons and not have to worry about the loop. Step 3: Add a dab of hot glue to the top of the large paperclip pad and place your fabric button on top of the glue. Step 4: Let it cool and it's ready to use! Happy Crafting!